When upgrading to CiraSync Enterprise Edition, a dedicated service account with the Global Administrator Role is required. However, after signing in to the CiraSync Enterprise Edition for the first time, the service account can be demoted by assigning the service account a custom role. This will not affect CiraSync functionality. The following guide shows how to demote the Service Account from the Global Admin Role with the old and new Admin Center.
Instructions
Assigning Admin Roles with the Old Admin Center
- Log in to the Office 365 Admin Center.
- Click Admin under Apps to go to the Admin Center.
- Click Users > Active Users. (See figure below.)

- Click the service account you would like to demote.
- Click on Edit in the Roles row. (See figure below.)

- Click the circle next to Customized Administrator.
- Check the box next to role of your choice. In this example, the account is demoted to Service Administrator.
- Click Save.

Assigning Admin Roles with the New Admin Center
- Log in to the Office 365 Admin Center.
- Click Admin under Apps to go to the Admin Center.
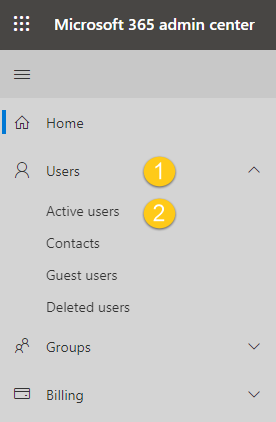
- Click Users > Active Users. (See figure below.)
 You will be taken to your tenant’s active user list. (See figure below.)
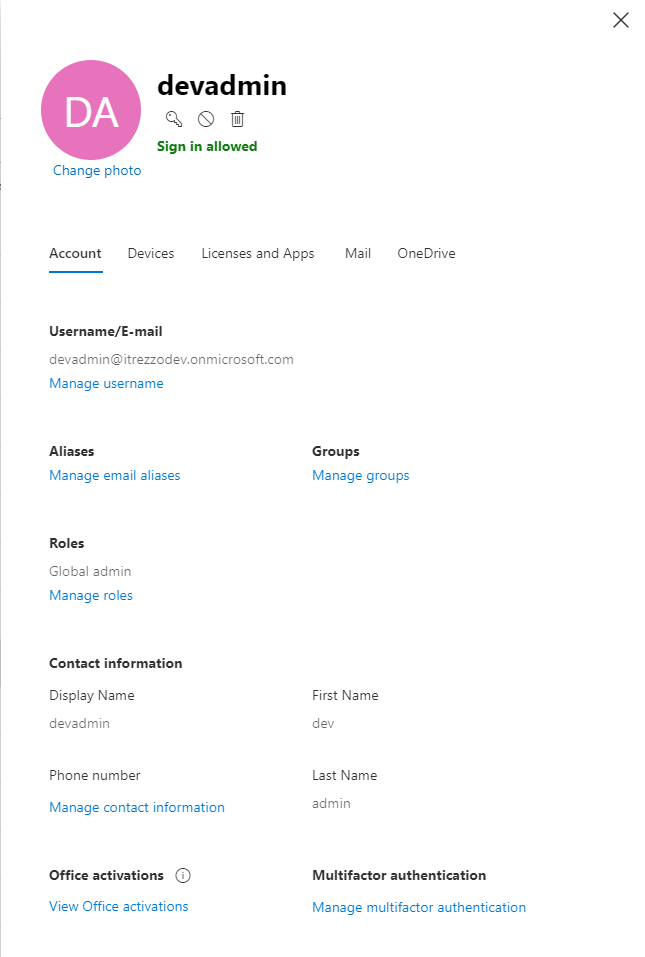
- Click the service account you would like to demote. The account information will pop-out on the right side of the window. (See figure below.)

- Click Manage roles under Roles.
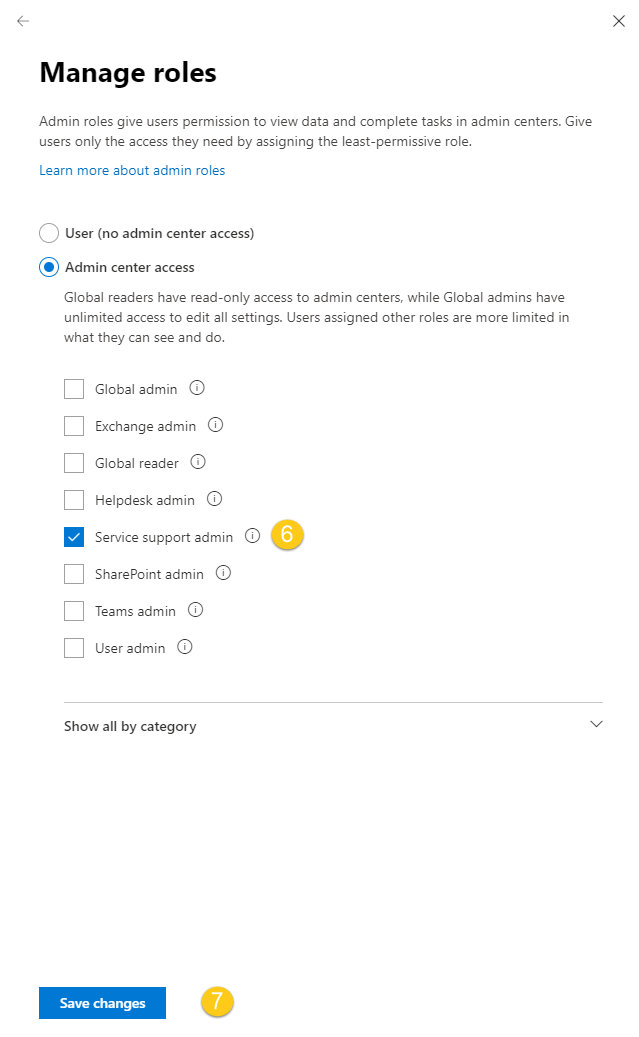
- Click Service support admin under Admin center access.
- Click Save changes. (See figure below.)

 You will be taken to your tenant’s active user list. (See figure below.)