Best Practices Before You Sync
1. Audit & Clean Your Source Data
Before enabling sync, review your source contacts:
- Remove duplicate entries
- Standardize formatting for names, phone numbers, and email addresses
- Delete test data or incomplete records
- Ensure consistent naming conventions for companies, job titles, and departments
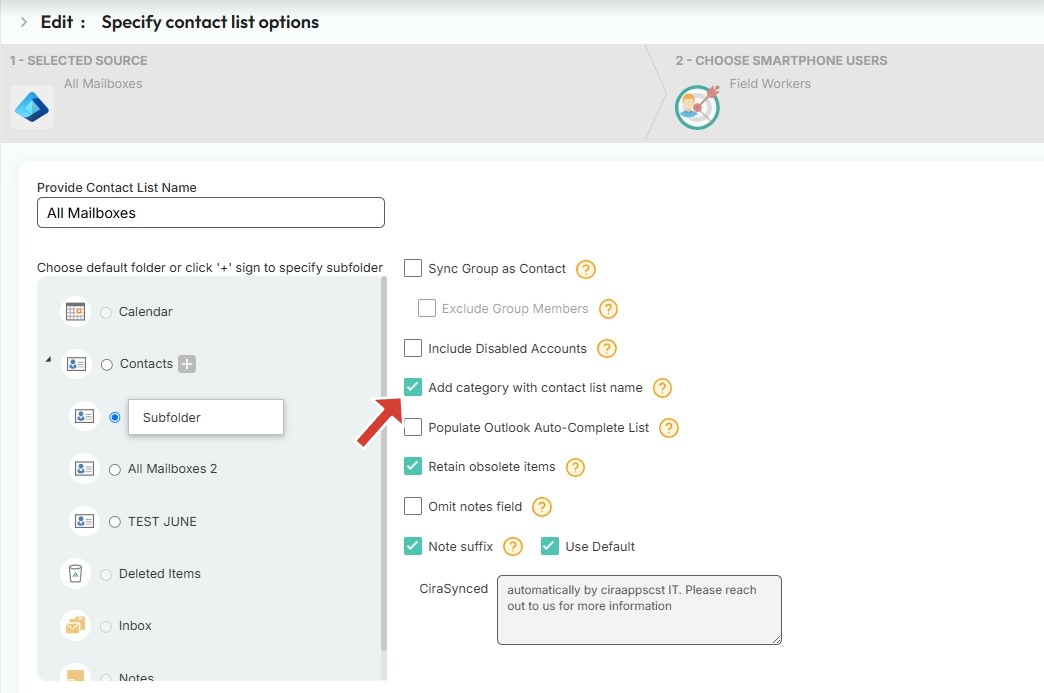
2. Check Sync Settings & Contact Field Mapping
Before starting your sync, review the available sync settings and filtering options to ensure only the most relevant and accurate contact data is included.
Use the checkboxes to enable or disable specific sync features based on your organization’s needs.
Note: The following are default behaviors in CiraSync. Sync Contact Groups: CiraSync automatically syncs contacts, ensuring the right users—such as field teams or departments, —receive the correct contact lists. Add Category with Contact List Name: This helps users easily identify the source of synced contacts, especially when syncing to shared folders or using custom views in Outlook.
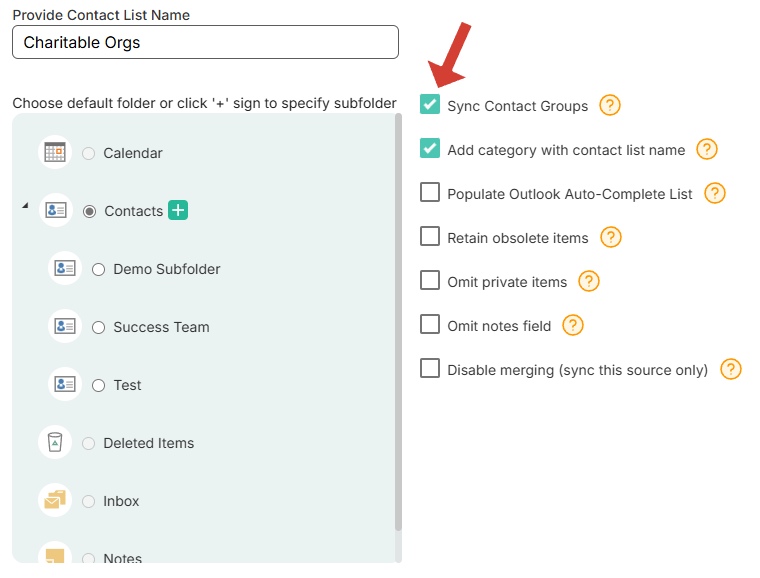
- Populate Outlook Auto-Complete List to streamline communication—synced contacts will auto-fill in Outlook when composing emails.
- Retain Obsolete Items allows previously synced contacts to remain in the user’s mailbox even if they are removed from the source (helpful for audit or reference).
- Omit Private Items to ensure personal or sensitive contacts aren’t unintentionally synced.
- Omit Notes Field if syncing note content is unnecessary or if privacy policies restrict note sharing.
- Disable Merging (Sync This Source Only) to enforce one-way sync from a specific source, avoiding potential data overwrites from other sync tasks.
3. Set Data Sync Filters
Avoid unnecessary data clutter by applying data sync filters:
-
Sync only contacts with phone numbers or email addresses
-
Exclude deactivated, outdated, or irrelevant records unless required
Data filtering can be accessed under the Sync Settings panel, where you can define specific fields, conditions, and values to control exactly which contacts are included in the sync. This helps keep end-user contact lists clean, relevant, and easy to manage.

Note: Be sure to apply contact filters to control which records are included—such as syncing only contacts with phone numbers or valid email addresses. Also, exclude inactive or irrelevant entries to keep user address books clean, focused, and easy to navigate.
4. Test with a Small Sample
Run a sync using a limited dataset to validate mapping, field integrity, and folder targeting.
Check for errors, unexpected behavior, or formatting inconsistencies before expanding to full deployment.
How to Avoid Duplicates in User Mailboxes
Pre-existing contacts in a user’s mailbox may cause duplicates after CiraSync syncs. To avoid this:
- Target the same folder that already contains the user’s contacts
- Enable CiraSync’s merge feature, which uses SMTP email addresses to detect duplicates
- When matches are found, contacts are merged, not duplicated
Important: Merged contacts are treated as private entries. If a synced source contact is deleted, the merged version will remain in the user’s mailbox.
To enable automatic deletion of merged contacts when removed from the source, contact CiraSync Support at help@cirasync.com or supportdesk@cirasync.com for assistance.
Classic Outlook vs. New Outlook – How Contacts Are Displayed
The new Microsoft Outlook app no longer supports the concept of subfolders as seen in Classic Outlook. Instead, subfolders are displayed as categories in the new interface.
When CiraSync is configured to sync contacts to subfolders and the “Add category with contact list name” option is enabled, the new Outlook app automatically generates categories based on those subfolder names. Since subfolders aren’t shown, this results in duplicate categories being created.
Accessing Contacts on Mobile Devices
It’s important to note that CiraSync does not interact directly with mobile devices and has no control over how contacts are displayed on them. CiraSync simply syncs data from the source to the user’s mailbox. If a sync option is enabled, the contacts will be accessible on mobile devices; however, how those contacts are displayed is determined by the device itself and is beyond CiraSync control.
1. Enable “Save Contacts” in Microsoft Outlook Mobile App (iOS/Android)
For iOS:
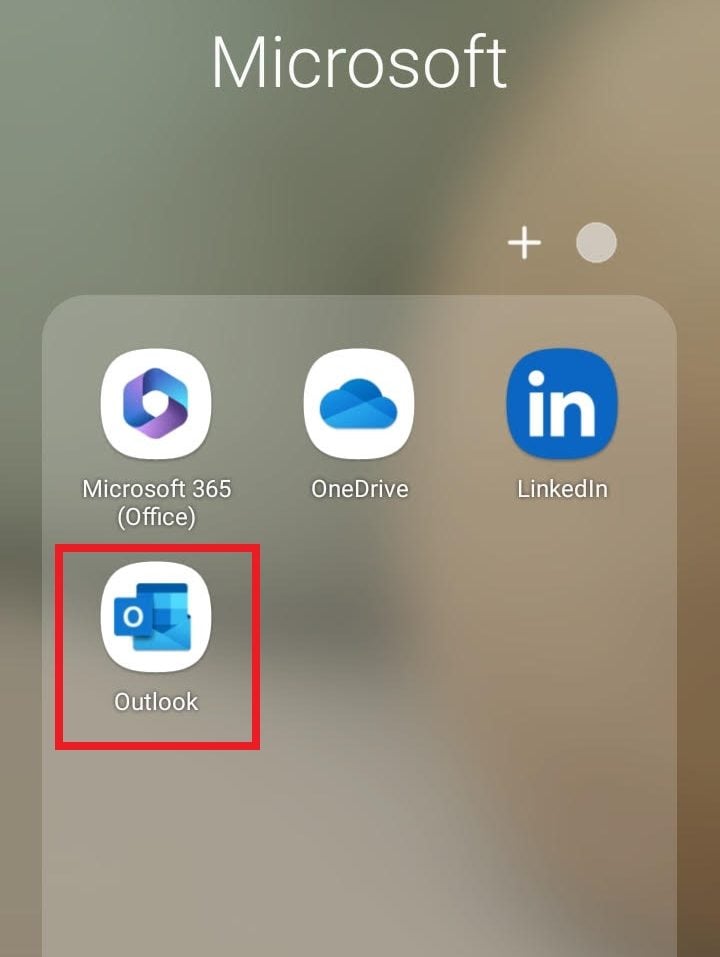
1. Open the Outlook App: Tap on the Outlook app icon on your iOS device to open it.
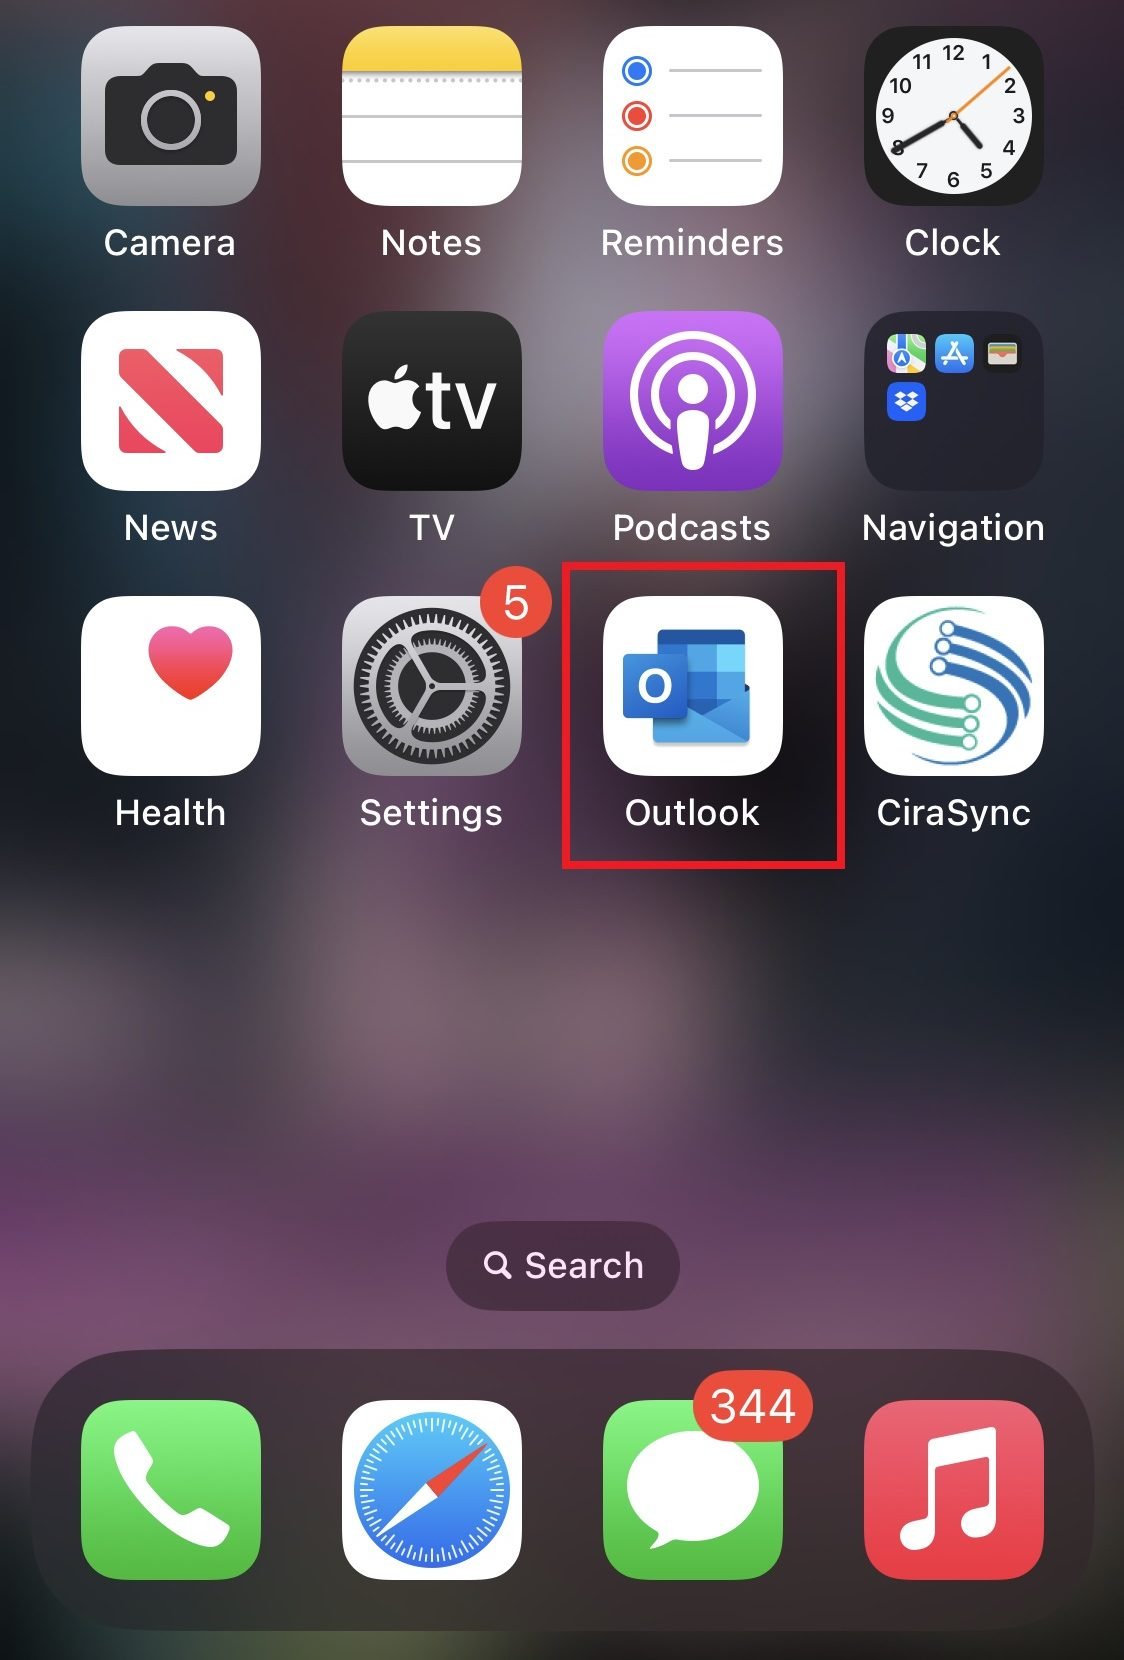
2. Access Settings: Tap on your profile picture or the icon in the upper-left corner, then tap on the gear icon at the bottom left to enter Settings.
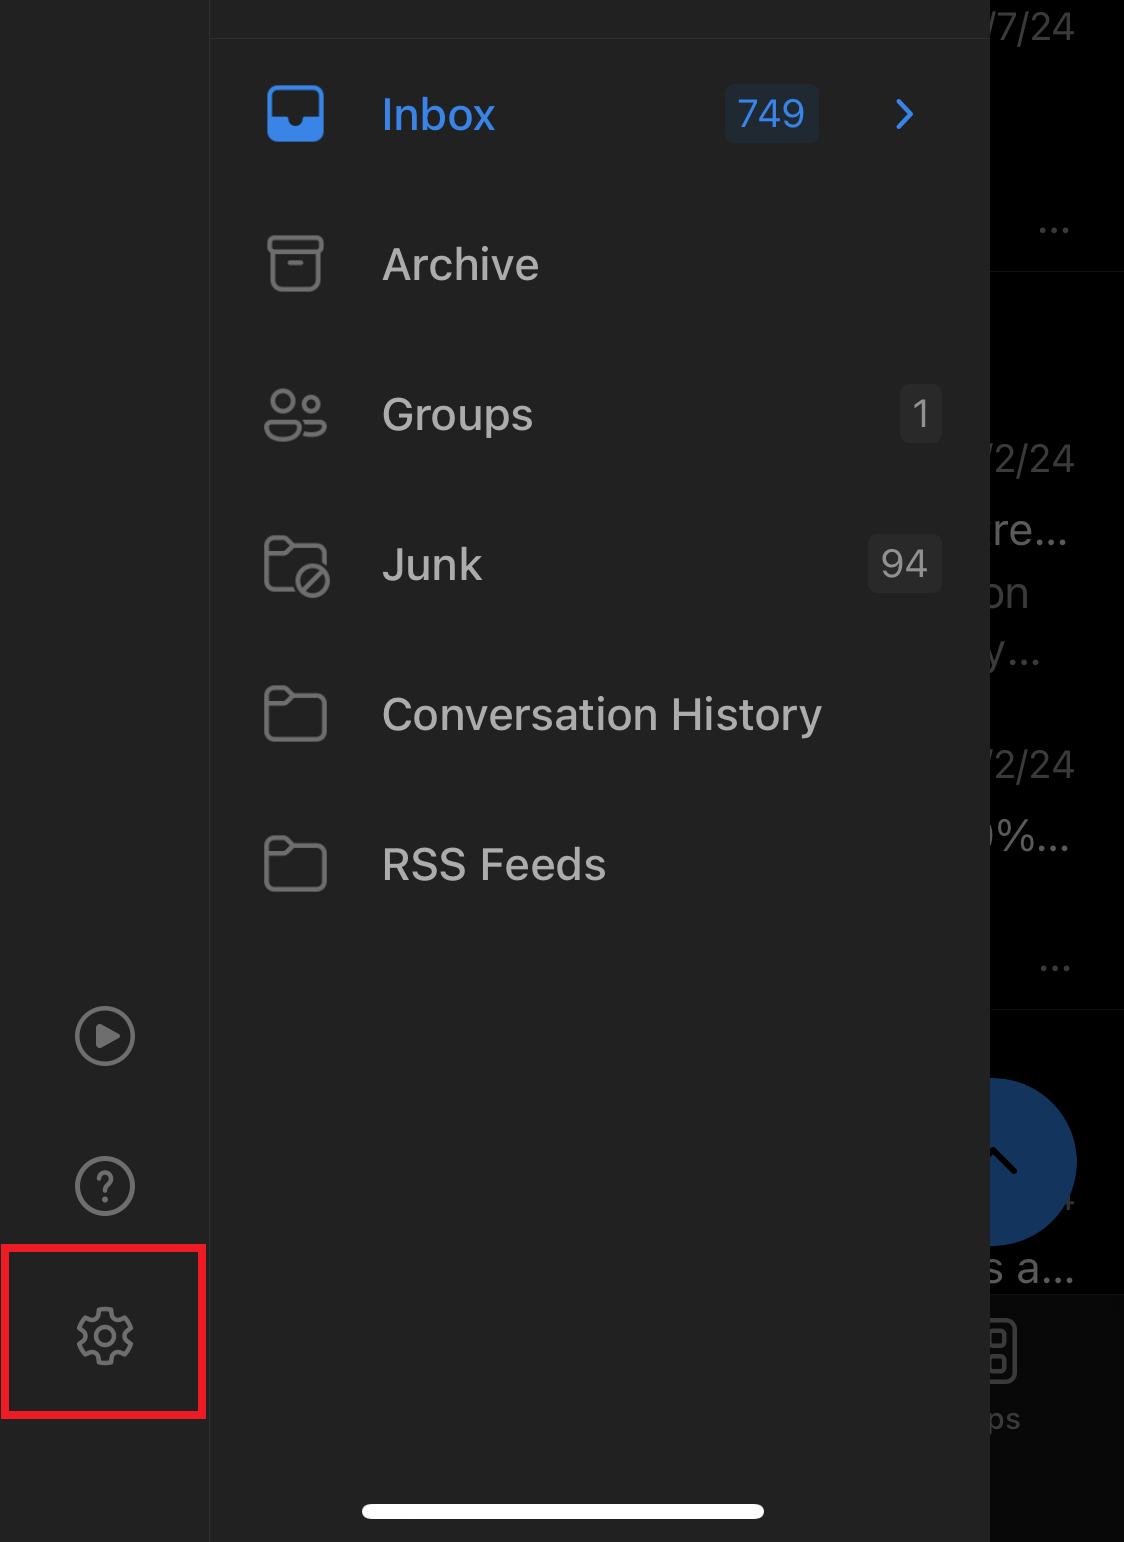
3.Click on ‚Contacts‘ under the settings menu.
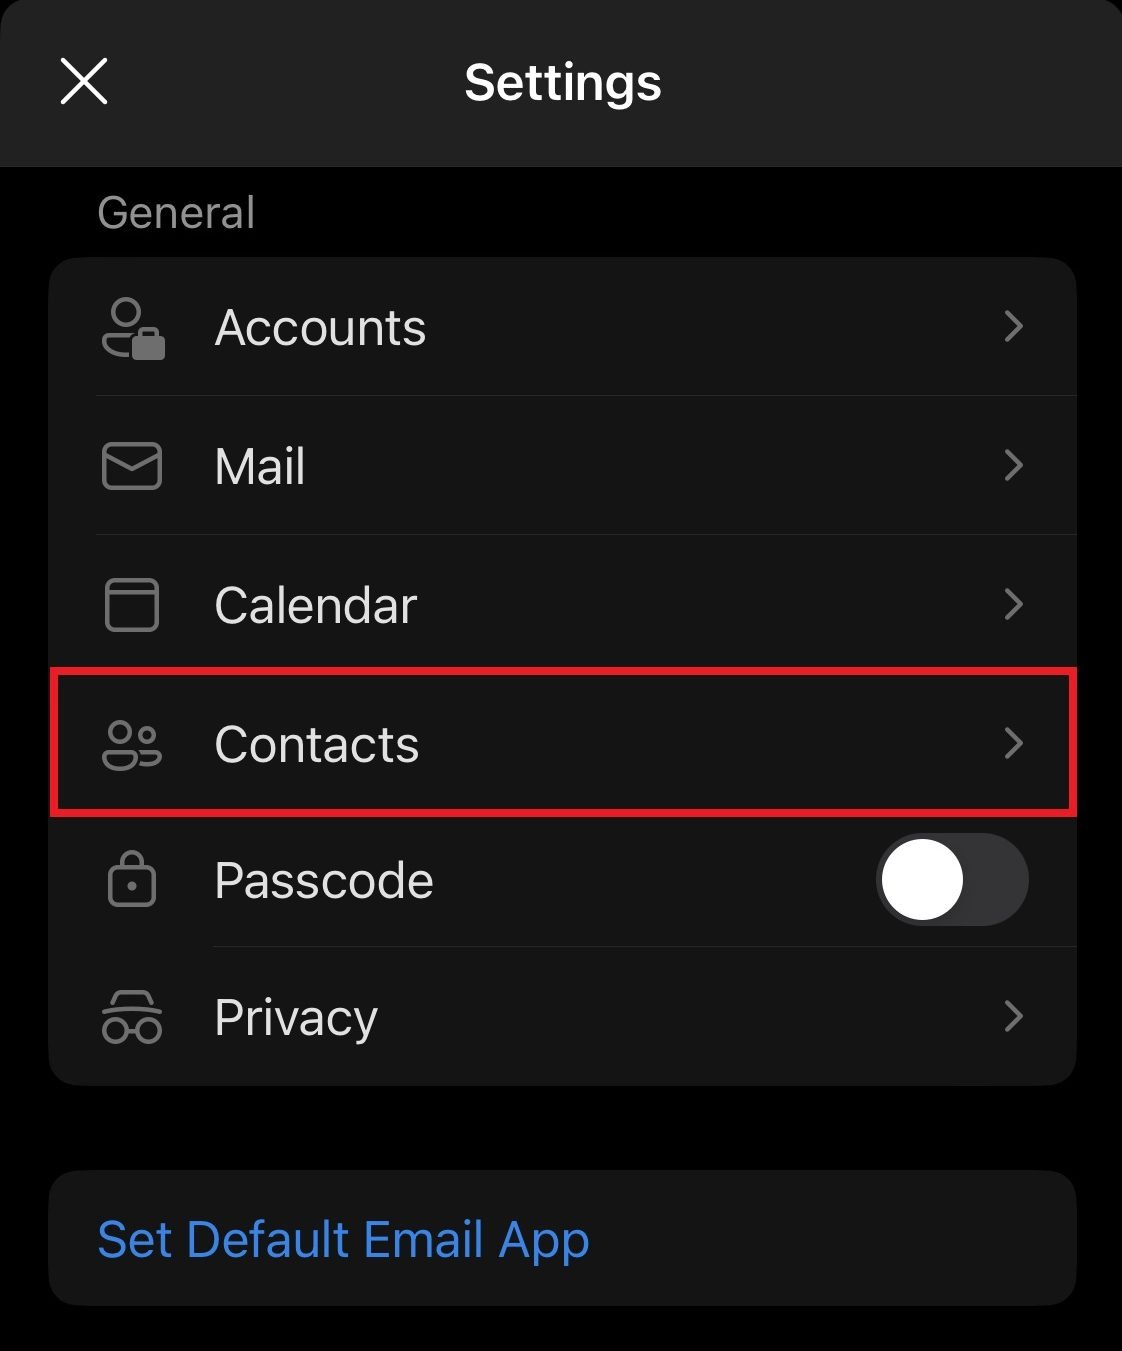
4. Enable ‚Save Contacts‘: Toggle the switch next to „Save Contacts“ to the ON position. This action will prompt Outlook to start syncing your contacts to your device’s address book.

For Android:
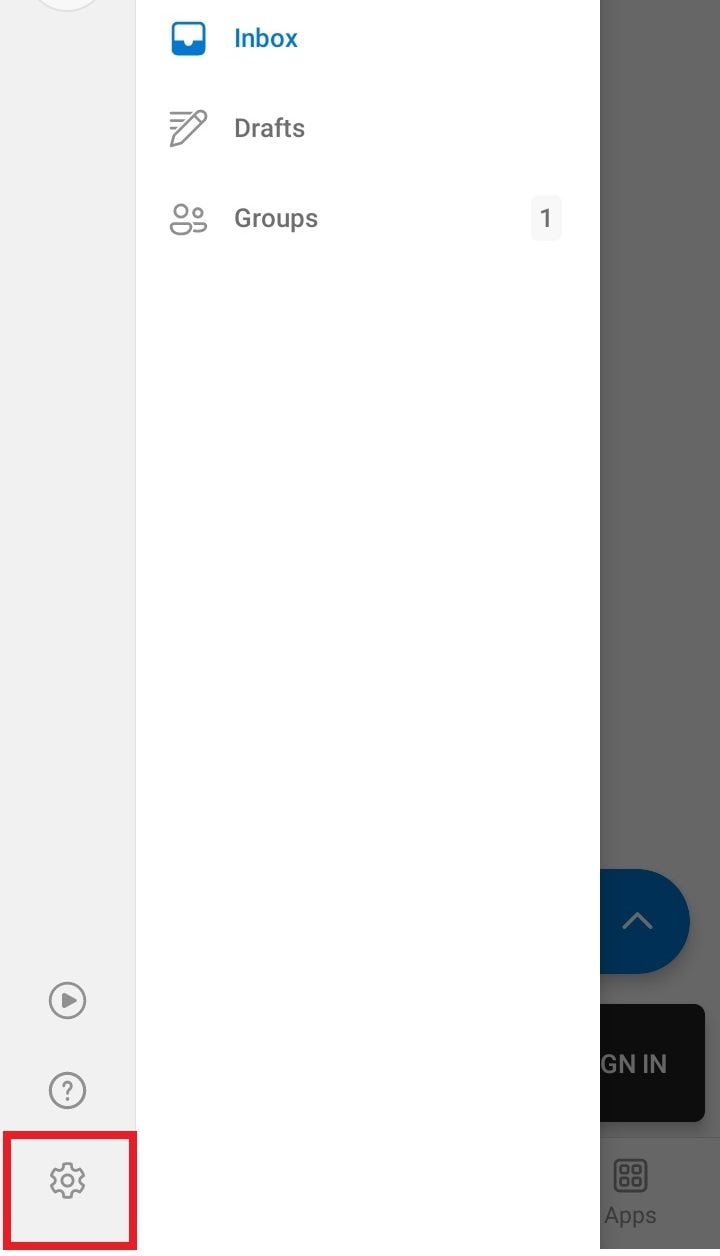
1. Open the Outlook App: Tap on the Outlook app icon on your Android device.
2. Go to Settings: Tap on the menu icon (three horizontal lines) in the upper-left corner, then scroll down and tap on the gear icon to access settings.
3. Click on ‚Contacts‘ under the settings menu.
4. Enable ‚Save Contacts‘: Toggle the switch next to „Save Contacts“ to enable it. This will allow Outlook to sync your contacts to your device’s contact list.
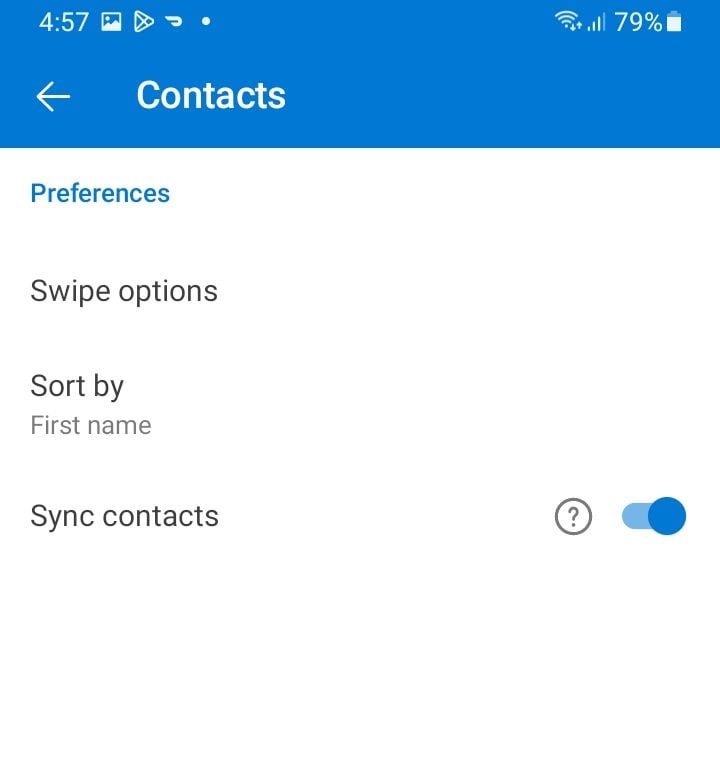
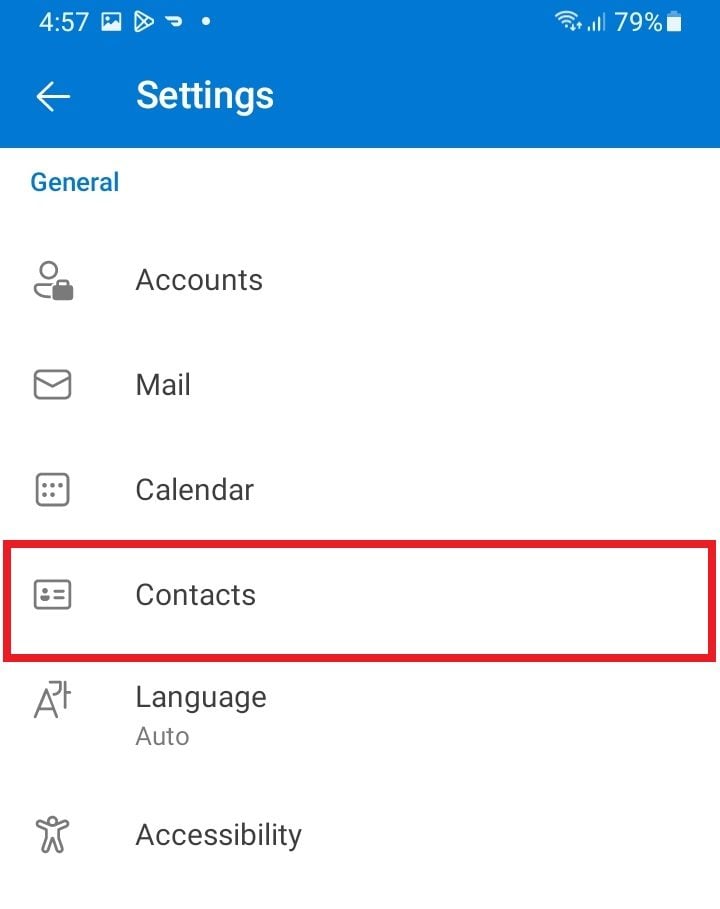
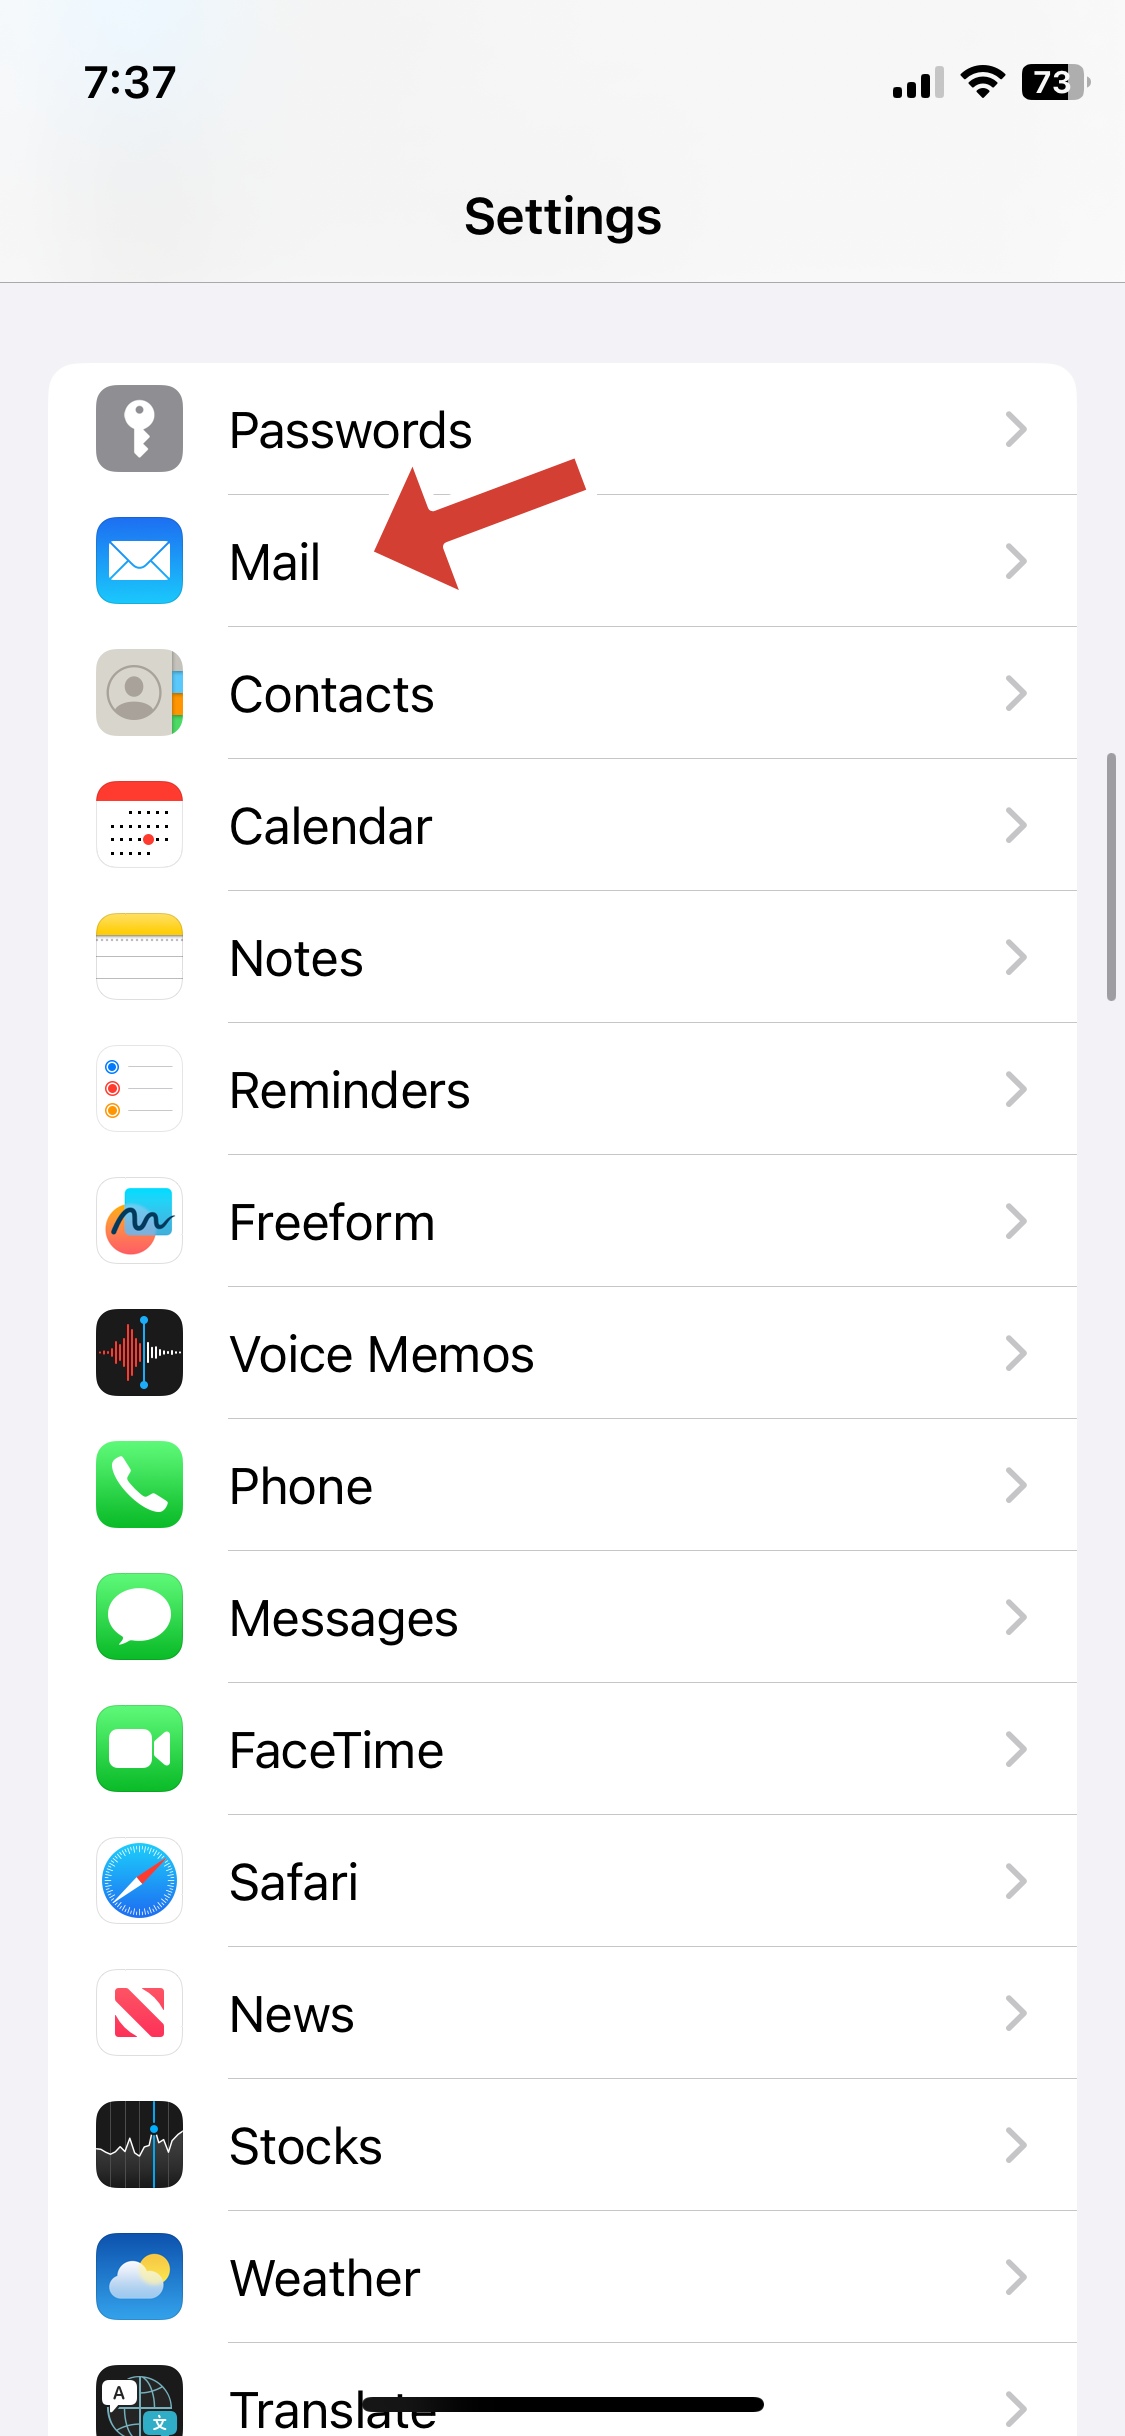
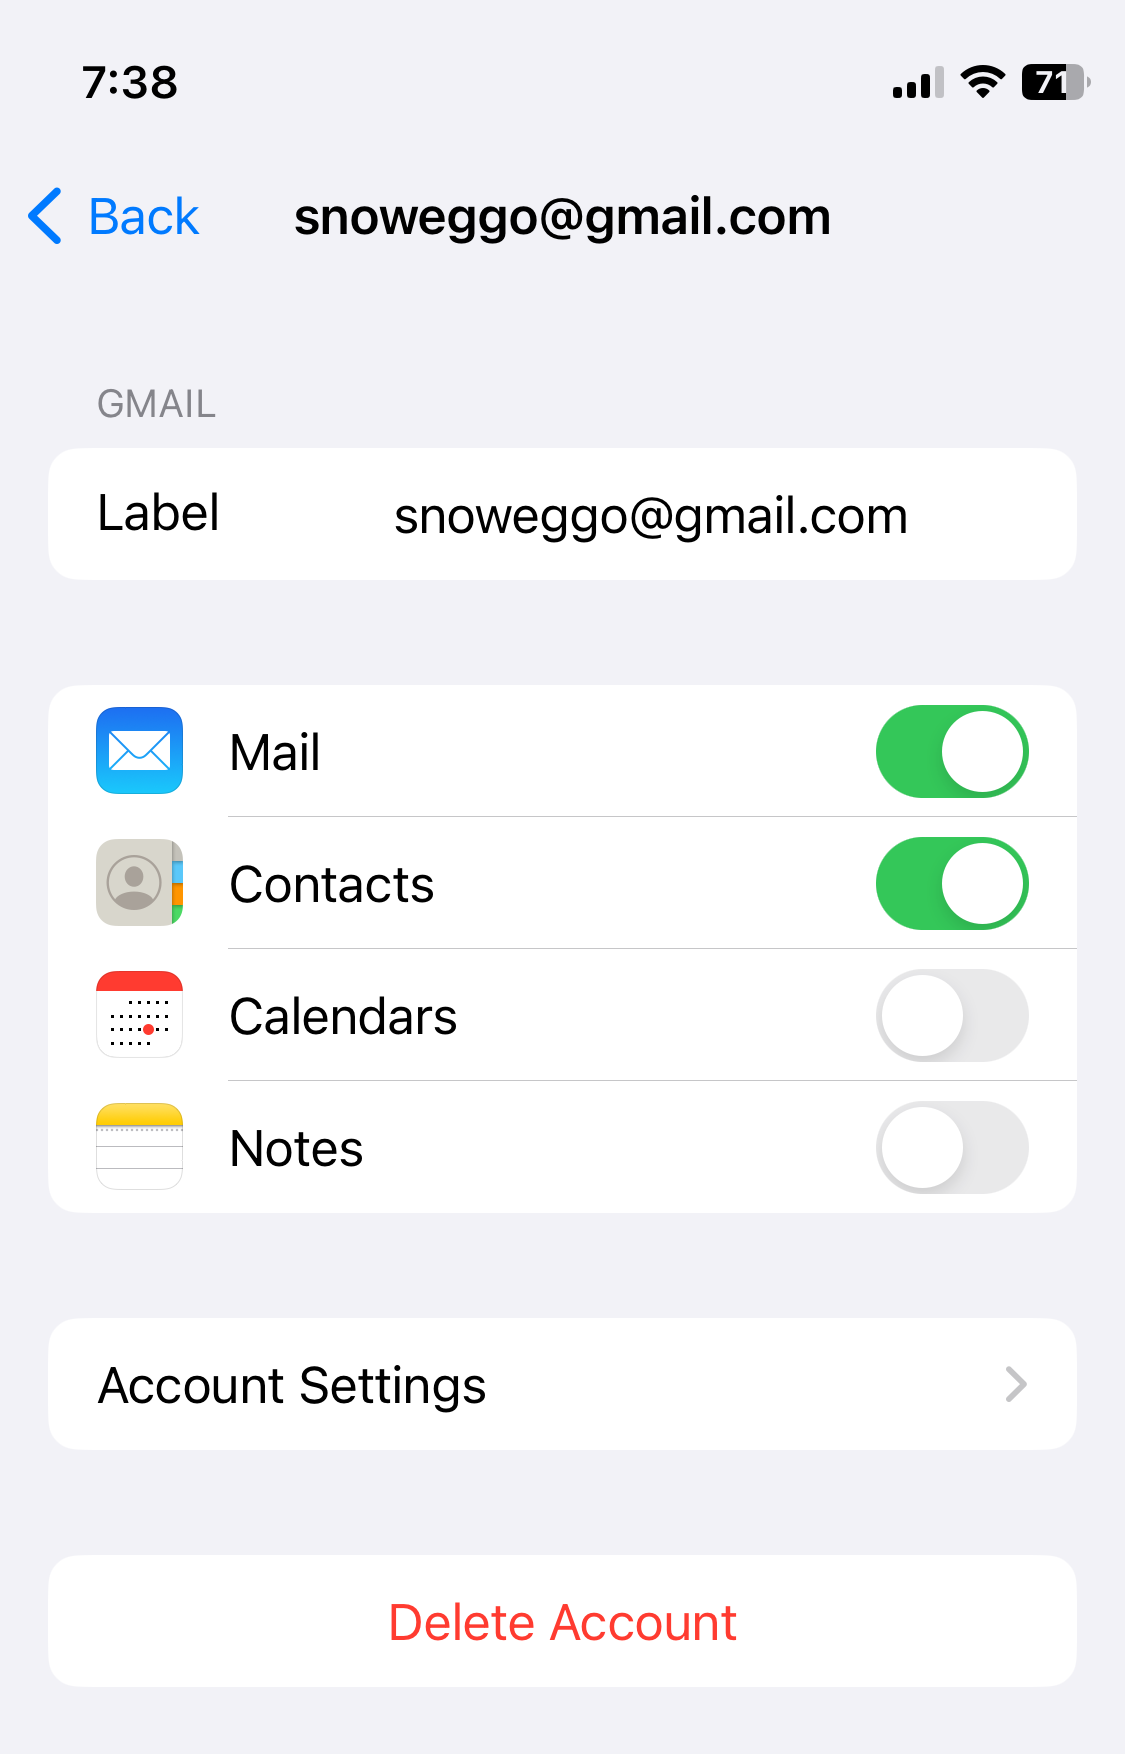
2. Enable Contact Sync in the Default (Inbuilt) Mail App
1. Go to Settings and Click on Mail.
2. Select Accounts.
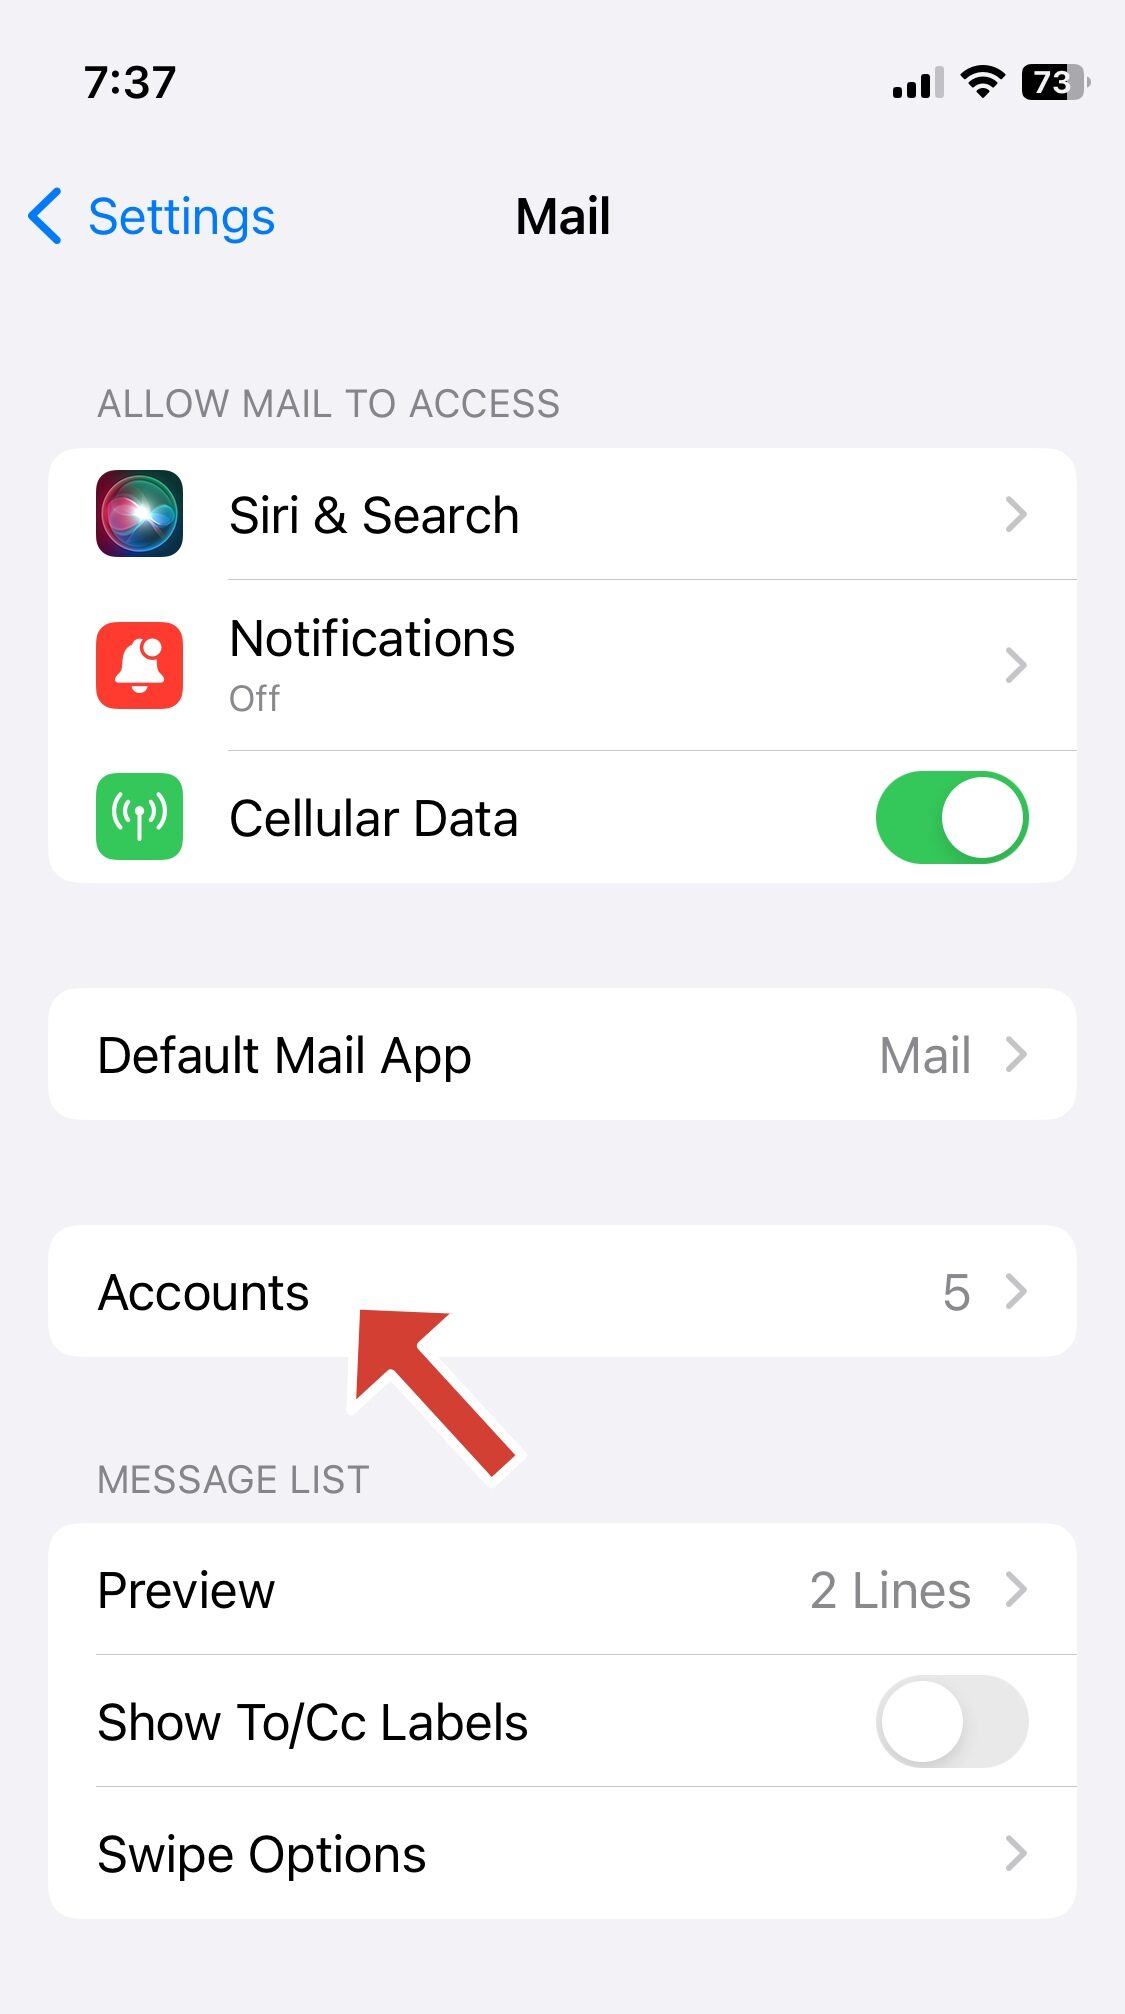
3. Tap your email address for your Microsoft account.
4. Make sure Contacts is toggled ON.
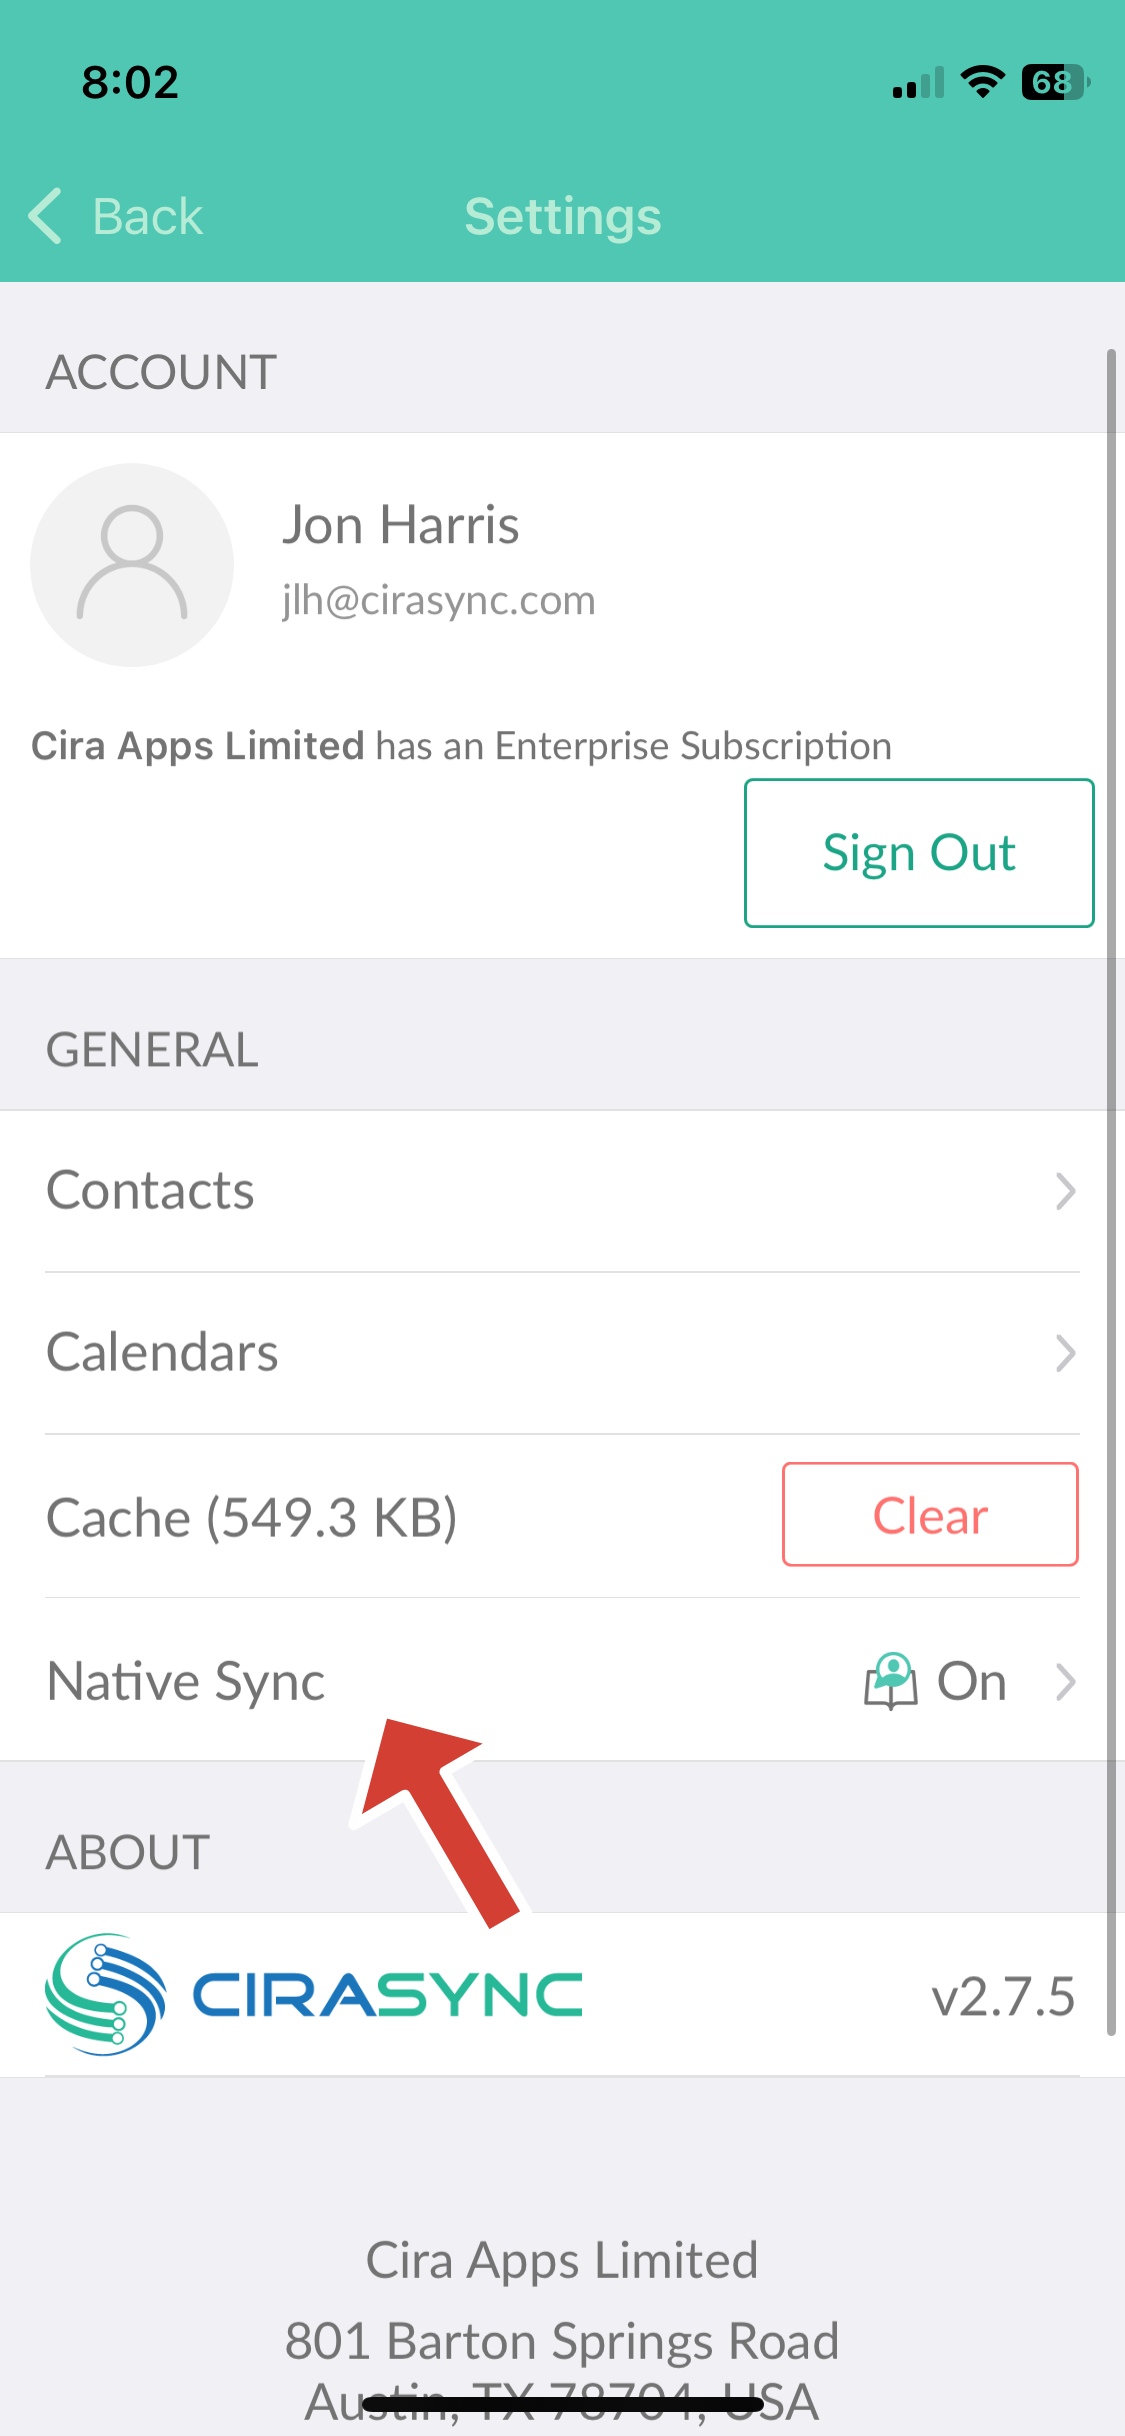
3. Using the CiraSync Mobile App
If your organization uses the CiraSync Mobile App:
1. Open the CiraSync app on your device.
2. Navigate to Settings.
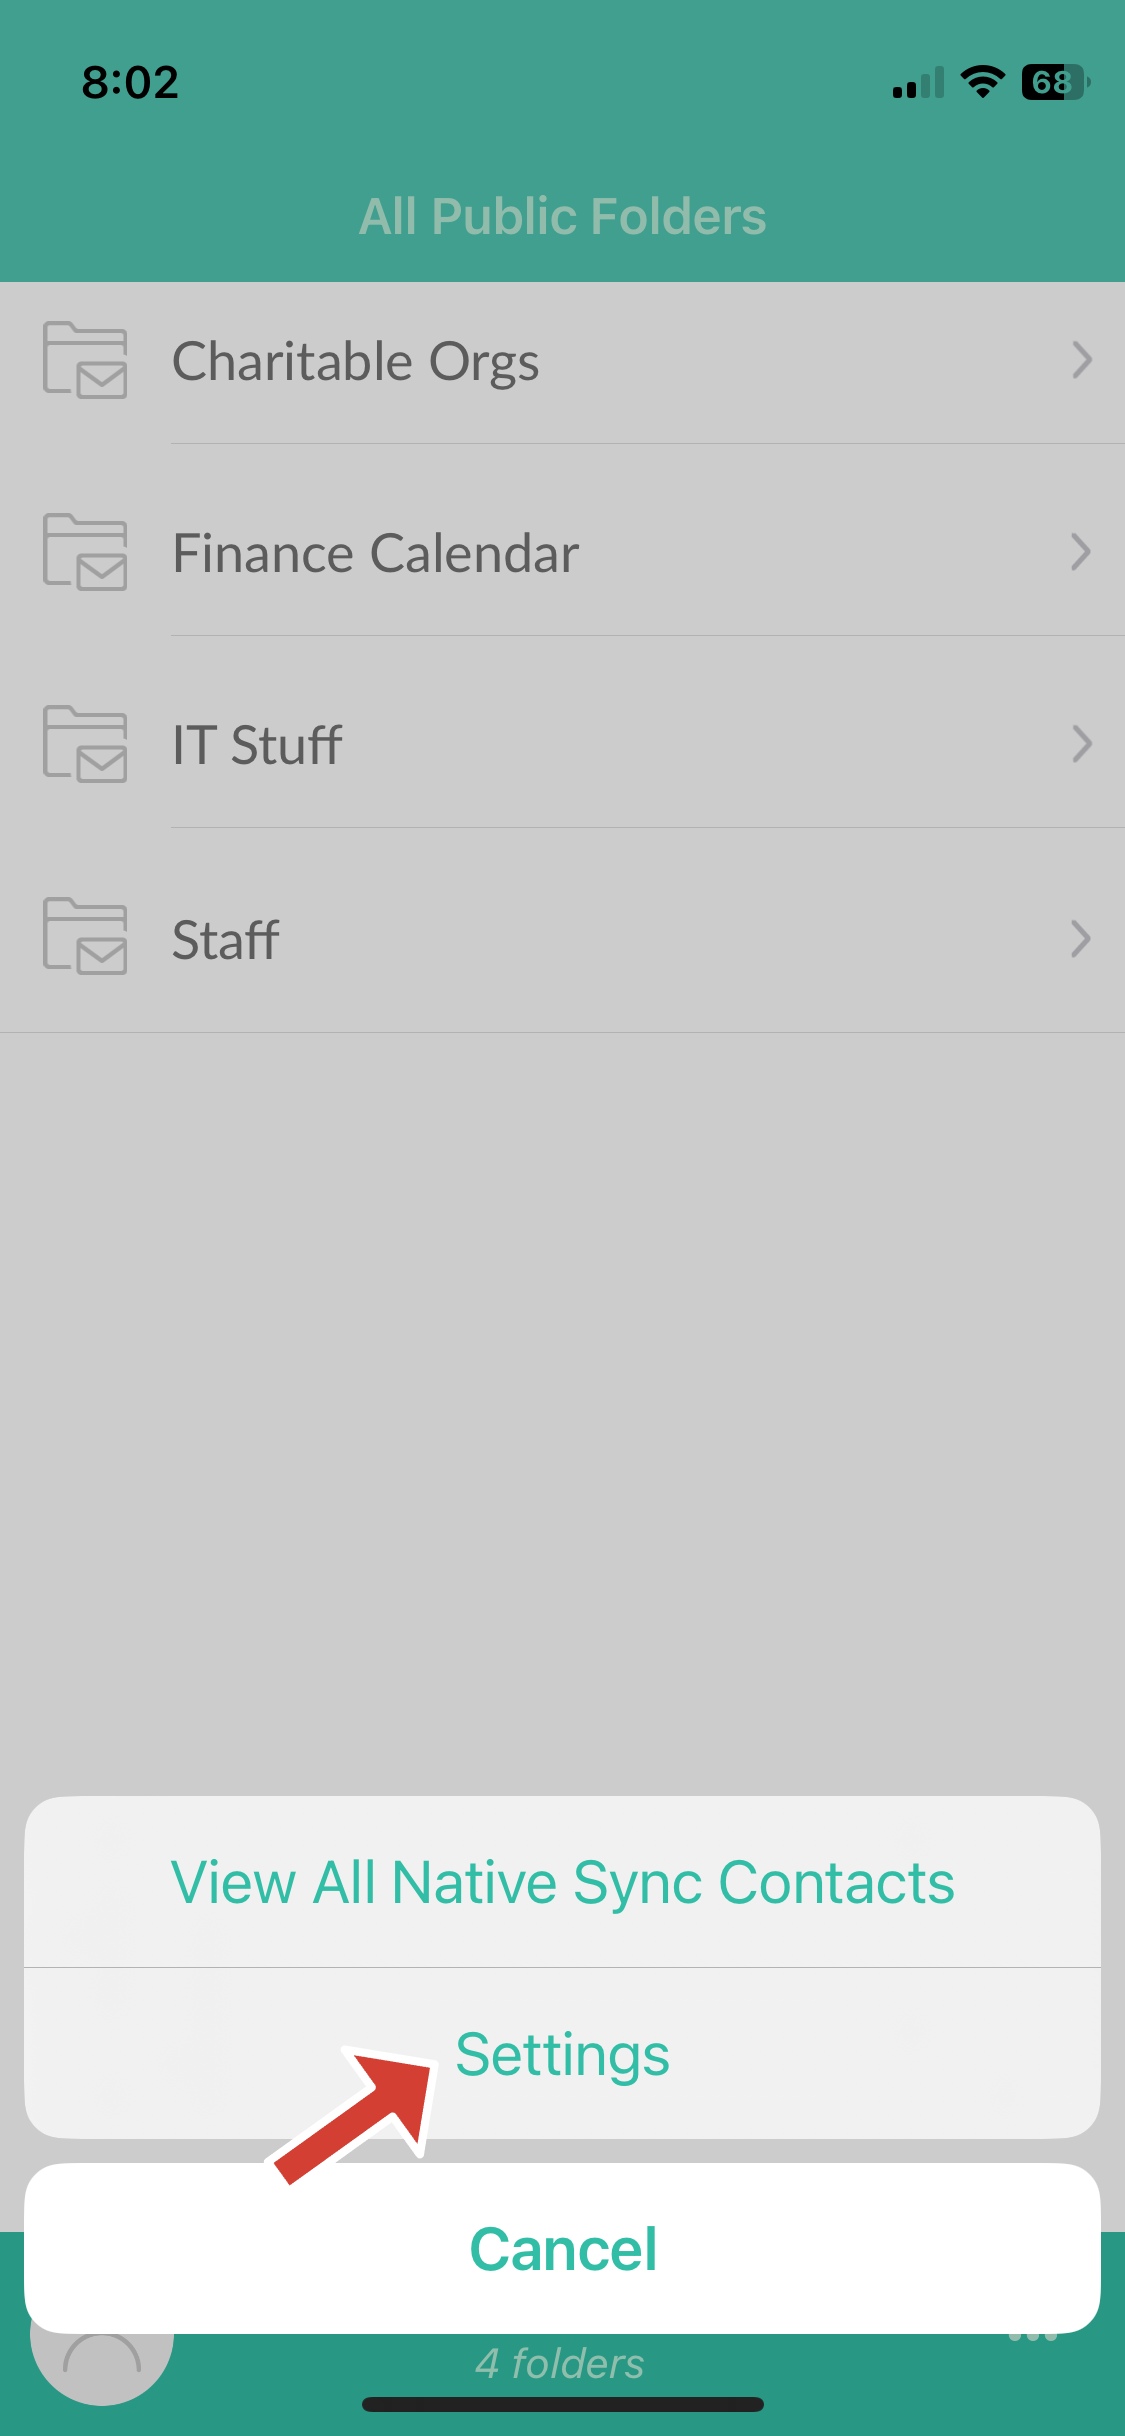
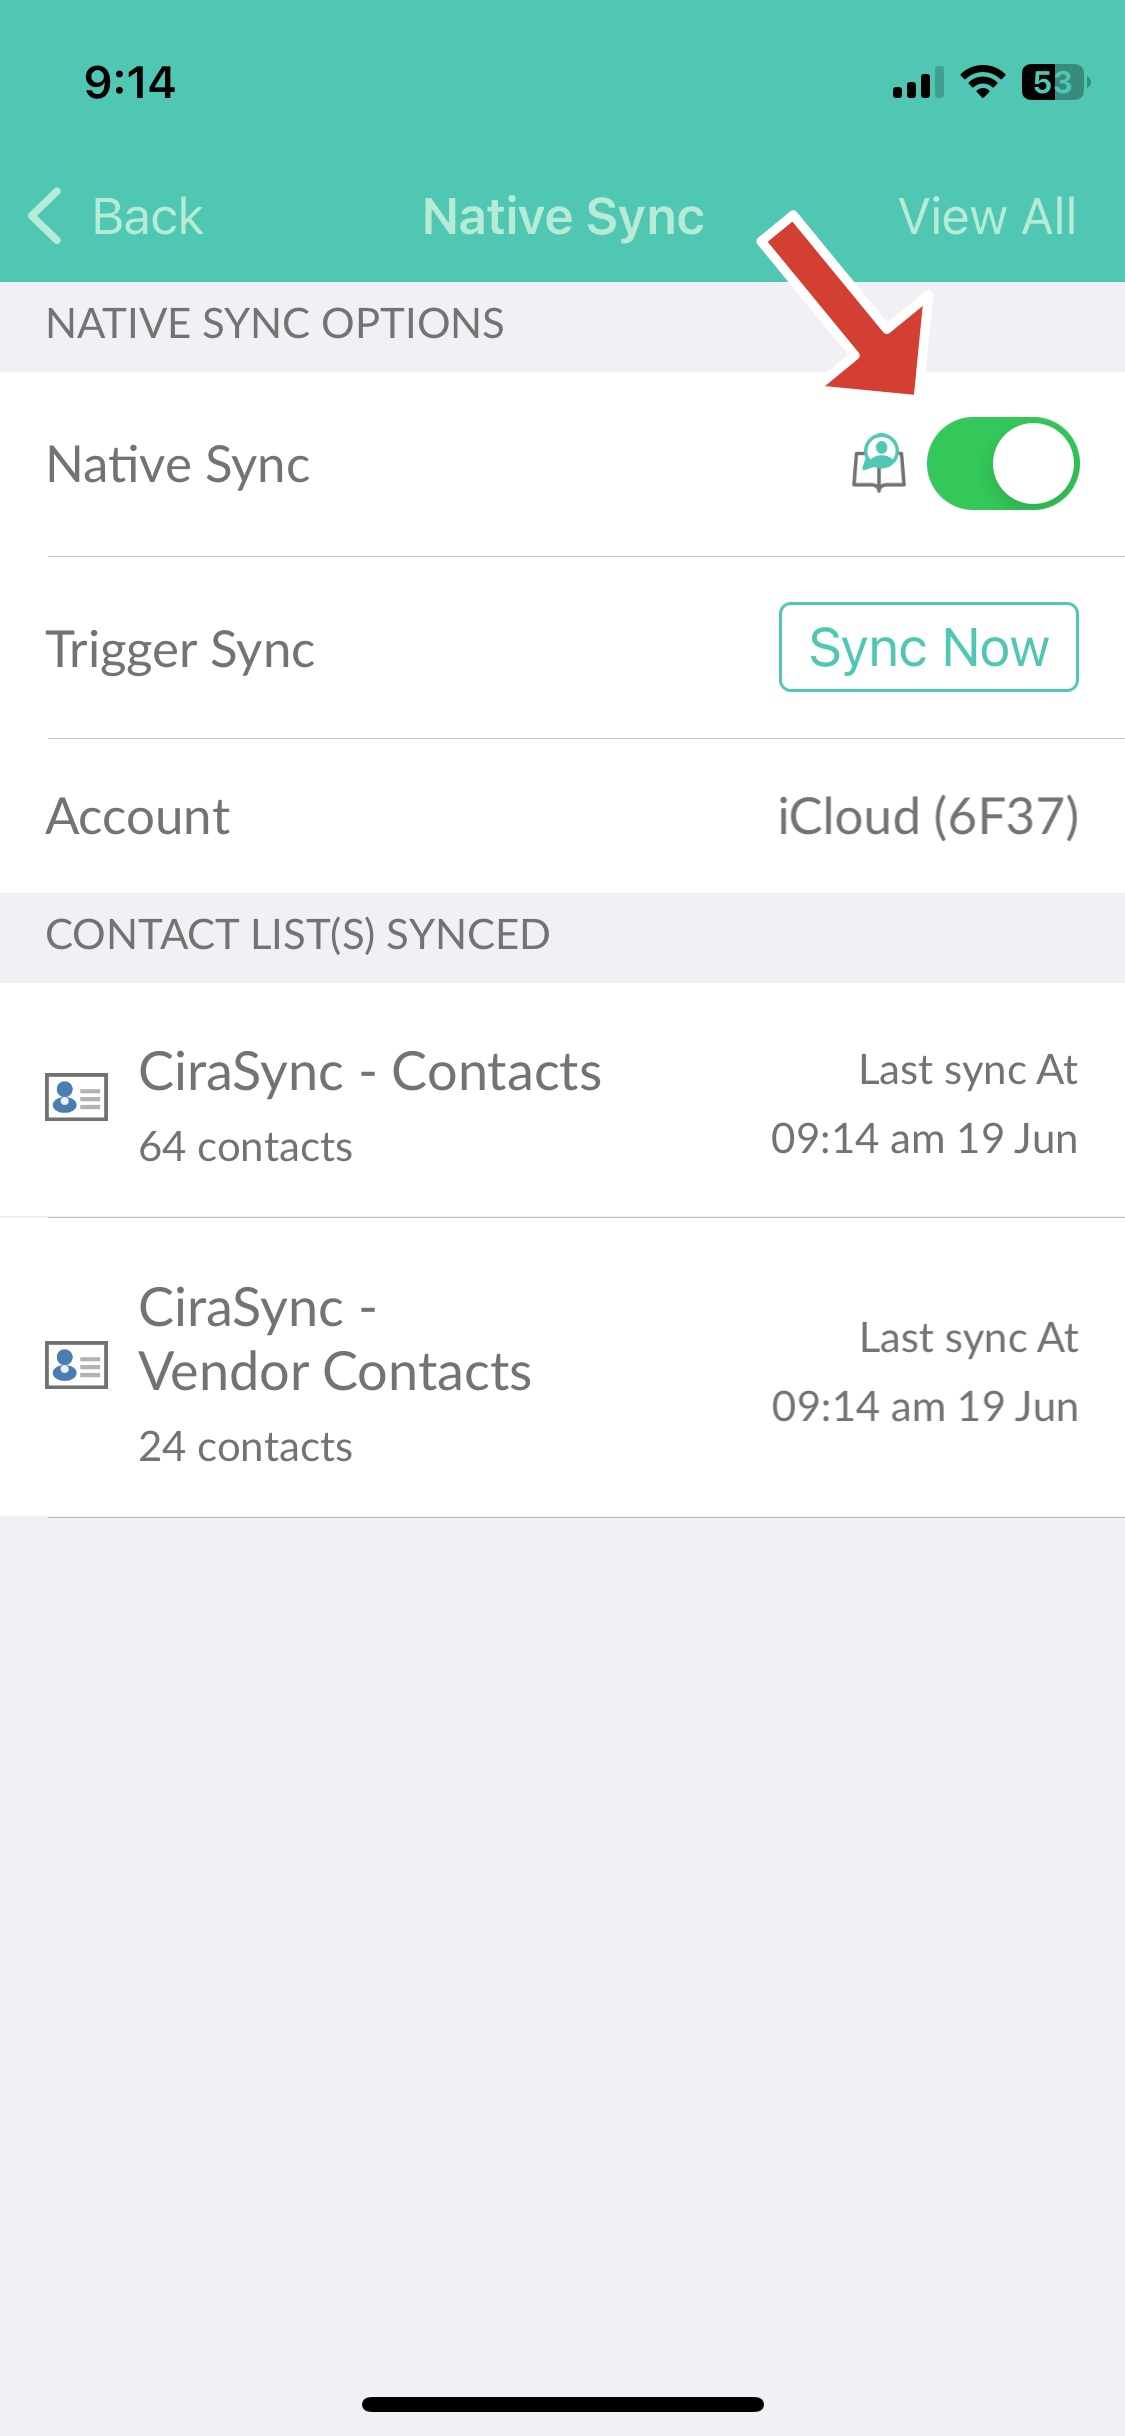
3. Locate the Native Sync option. If Native Sync is turned off, tap it to open the settings.
4. Toggle Native Sync to the on position to allow contacts to sync to your phone’s native address book. To trigger a synchronization, tap Sync Now.
Why Duplicates Appear on Mobile Devices
Common causes of contact duplication include:
- The same contacts exist in multiple folders within the user’s mailbox
- Multiple contact sync options are enabled (e.g., Outlook Mobile’s „Save Contacts“ + native mail app sync)
- Mobile device settings like Gmail or iCloud backups duplicating contact records
Solution: Standardize which apps and services sync contacts on managed devices, and limit contact sync options to one primary source where possible.
How CiraSync Manages Contact Notes
The way contact notes are handled during merging in CiraSync depends heavily on the sync settings applied. Enabling the Overwrite option results in the loss of existing personal notes; while disabling it allows for both sets of notes to be preserved. When using the Persistent Note Delimiter, all note types—including personal, synced, and persistent notes—can coexist in the contact record.
This flexibility allows administrators to choose the most appropriate note-handling behavior based on their organization’s needs, with careful configuration preventing unintended data loss.
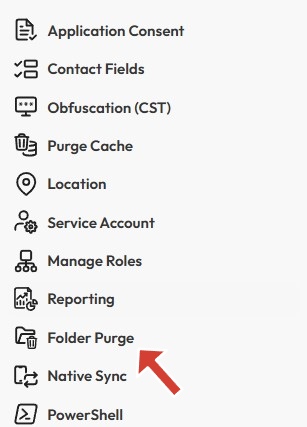
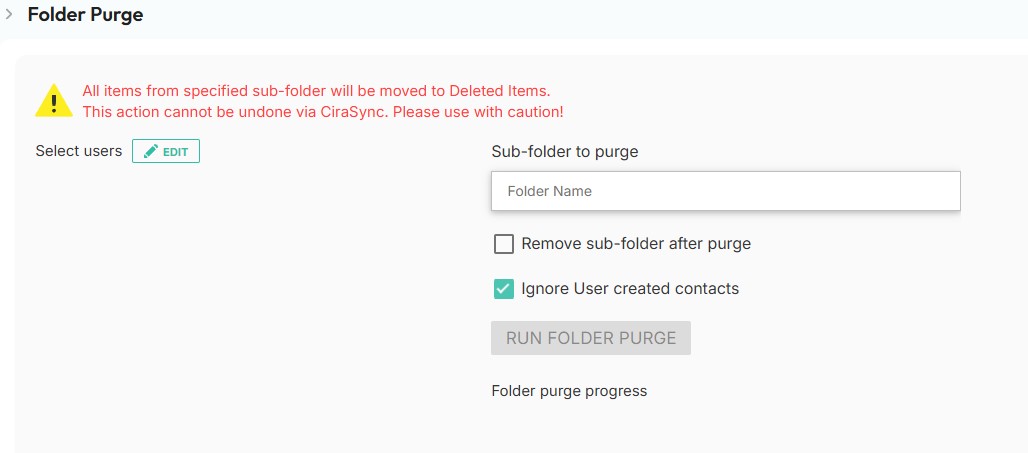
Cleaning Up Contacts Before Syncing with CiraSync
2. Select the Target Sub-Folder and Users
Choose the specific sub-folder you want to purge and select the user mailboxes the action should apply to.
3. Configure Additional Settings
-
-
Folder Name: Enter the name of the sub-folder to purge.
-
Remove Sub-Folder After Purge: Check this box if you want the sub-folder deleted once the purge is complete.
-
Ignore User-Created Contacts: Enable this to prevent deletion of manually created contacts by the user.
-
Need Help?
Contact the CiraSync Support Team for assistance with sync setup, cleanup, or advanced filtering configurations.
Our team can guide you through best practices and prevent avoidable issues in large-scale rollouts.

