
CiraSync Personal Edition is a free and limited-capability version of the Enterprise Edition and can be managed from the central dashboard for up to 15 users. Only a single contact, Public Folder, or calendar source can automatically synced once a week for a maximum of 1,000 items. This QuickStart Guide will cover how to sign up for CiraSync Personal Edition and how to manually sync contacts on the CiraSync Personal Edition dashboard.
For more details about CiraSync Personal Edition, check out the CiraSync Personal Edition FAQ.
Instructions
Signing Up for CiraSync Personal Edition
- Go to cirasync.com/try-cirasync-now/.
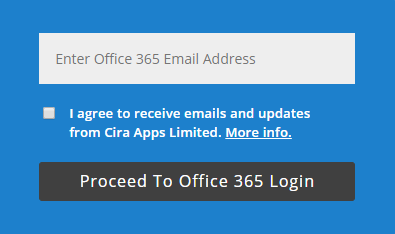
- Enter your Office 365 email address.
- Check I agree to receive emails and updates from Cira Apps Limited in the blue dialog box.
- Click Proceed to Office 365 Login to go to the Microsoft sign-in page. (See figure below.)
- Enter your Office 365 Password.
- Click the Sign-in button. CiraSync will then ask for permission to access your Office 365 account. (See figure below.)NOTE: CiraSync does not store or requests passwords. No code exists to request or store customer passwords. Any customer data is passed onto the Microsoft Azure network—not the internet. Any caching used by CiraSync for performance purposes are purged after 30 days.
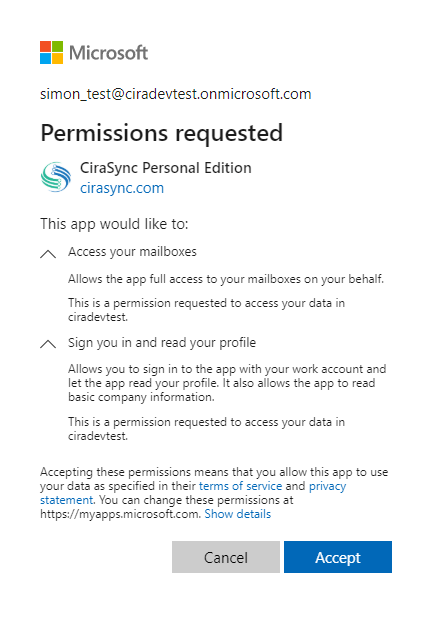 NOTE: If your Office 365 Account is set to Global Admin, you will see a check box that asks for consent on behalf of your organization. DO NOT check this box.
 - Click the Accept to allow CiraSync to begin syncing your Office 365 contacts.
Congratulations, you have successfully signed up for CiraSync Personal Edition! You will be taken to the CiraSync On-Boarding Dashboard. Now, let’s start syncing your contacts!
Syncing Your Contacts
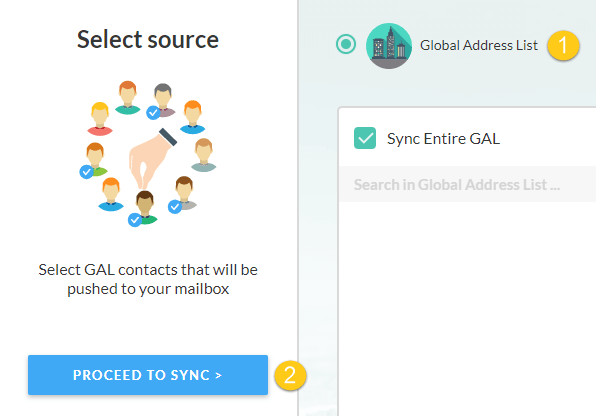
- Choose the source of the contact sync. In this example, choose Global Address List.
- Click PROCEED TO SYNC on the left-hand side of the dashboard. (See figure below.)
 You will be taken to the Start Sync page. (See figure below.)
- Click START SYNC.
Changing CiraSync Personal Edition Configuration
- Log in to the CiraSync Personal Edition dashboard.
- Click EDIT in the Configuration
- Select the sync source. In this example, the source will be Public Folder Contacts.
- Click the drop-down button and select the desired Public Folder Contact List to use as the sync source.
- Click SAVE on the left-hand side of the dashboard. You will be taken to the CiraSync Personal Edition dashboard.
- Click SYNC NOW in the Sync Status pane to perform a manual sync.
If you are interested in CiraSync Enterprise Edition, check out the CiraSync Enterprise Edition FAQ.

