


A shared mailbox is a mailbox that a group of people can use to view and send emails under a singular alias. Office 365 users can create a shared mailbox in the Office 365 Admin Center. This guide shows how to create and add members to a shared mailbox.
Instructions
- Launch the Office 365 Admin Center.
- Click Groups > Shared mailboxes in the navigation panel.
- Click Add a mailbox. The Shared mailbox Creation Wizard will pop-out on the right side of the window. (See figure below.)
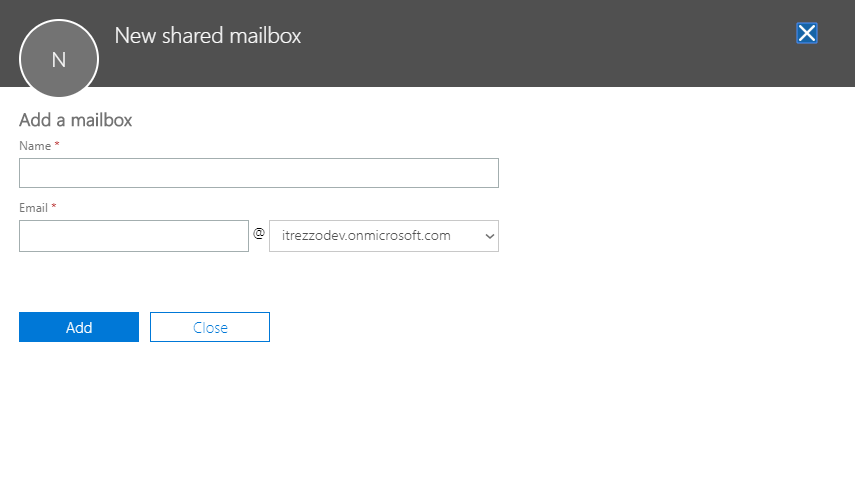
- Name the mailbox. In this example, the mailbox is called CiraShared. NOTE: The name of the mailbox will become the email of the shared mailbox.
- Click Add. NOTE: It may take a few minutes for Office 365 to create the mailbox.
- Click the shared mailboxes from the list. The Shared mailbox options Window will pop-out on the right side of the window. (See figure below.)
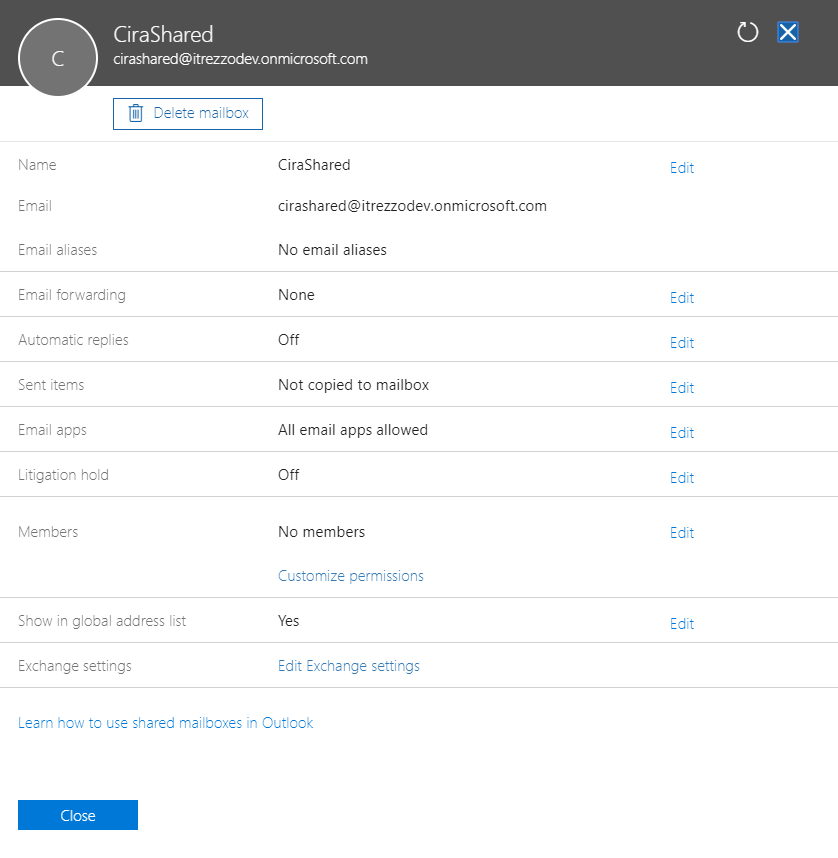
- Click Edit in the Members field. The Shared mailbox Members Wizard will appear. (See figure below.)
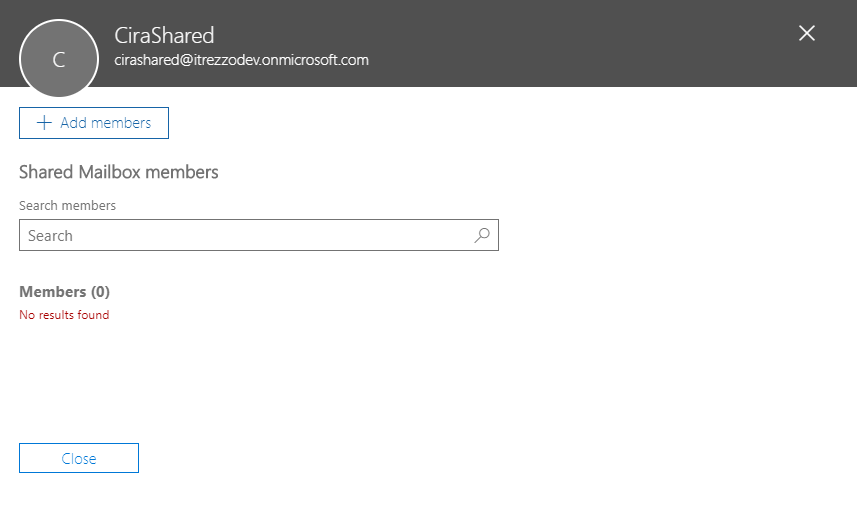
- Click +Add members. A list of all Global Address List (GAL) entries will appear.
- Click the checkbox by each entry to add members to the shared mailbox. NOTE: The search bar can be used to filter through the list of GAL entries.
- Click Save when all desired users have been added as members of the shared mailbox.
Shared mailboxes can be opened and used in Outlook. Check out these blogs to learn how to open shared mailboxes in Outlook Desktop and Outlook on the web:


