


This article explains how to create an appointment or task using Microsoft Outlook. CiraHub consolidates numerous data sources from multiple platforms, ensuring that information remains consistent across all devices and software.
How to schedule an appointment
1. Start in any calendar view, but make sure the Home tab is selected. Click the New Appointment icon.

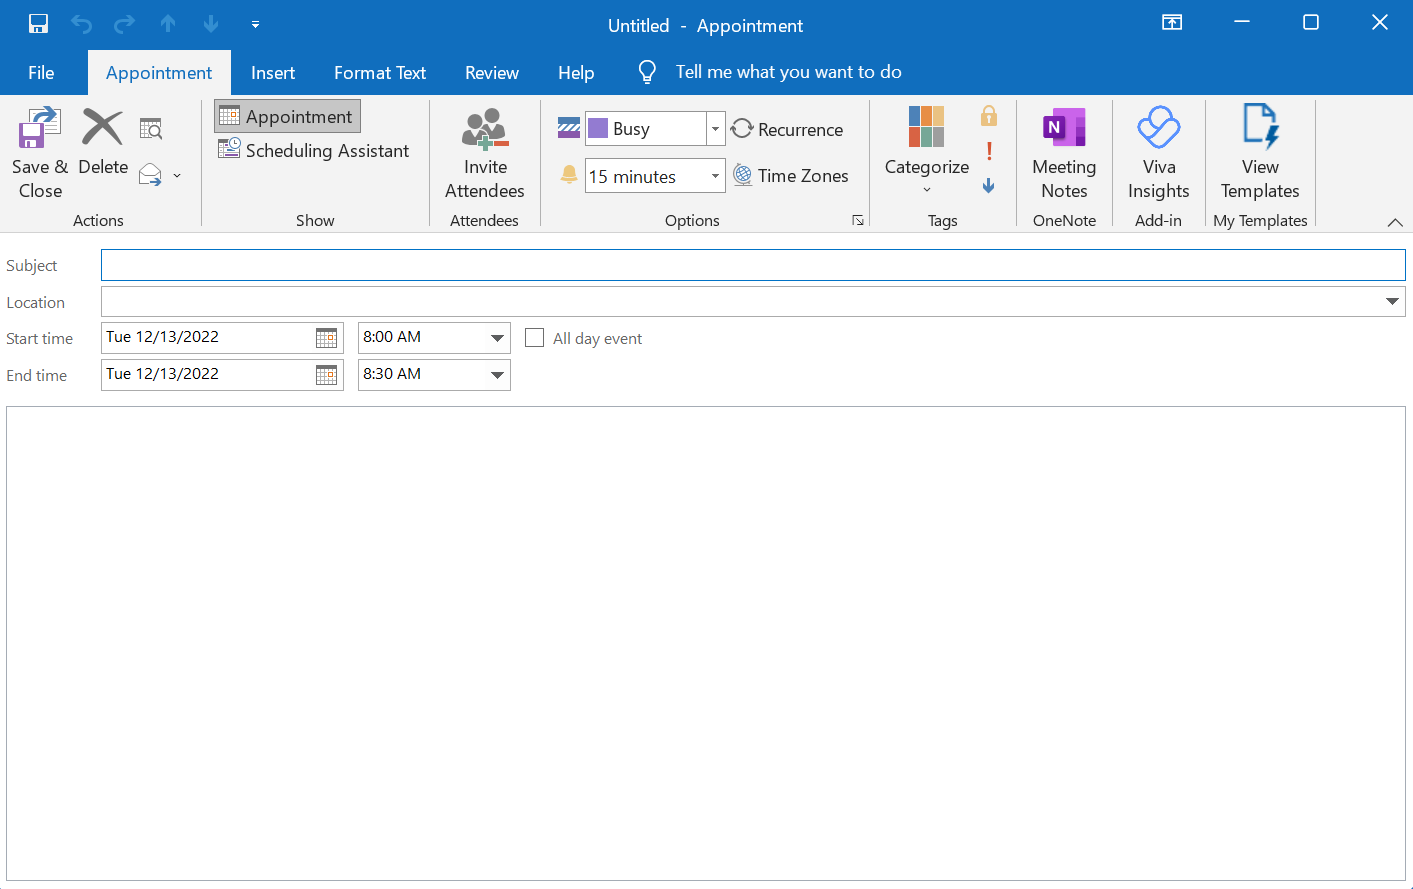
2. After clicking the New Appointment icon , a blank Appointment screen should appear. Then enter the necessary details about your appointment in the fields.
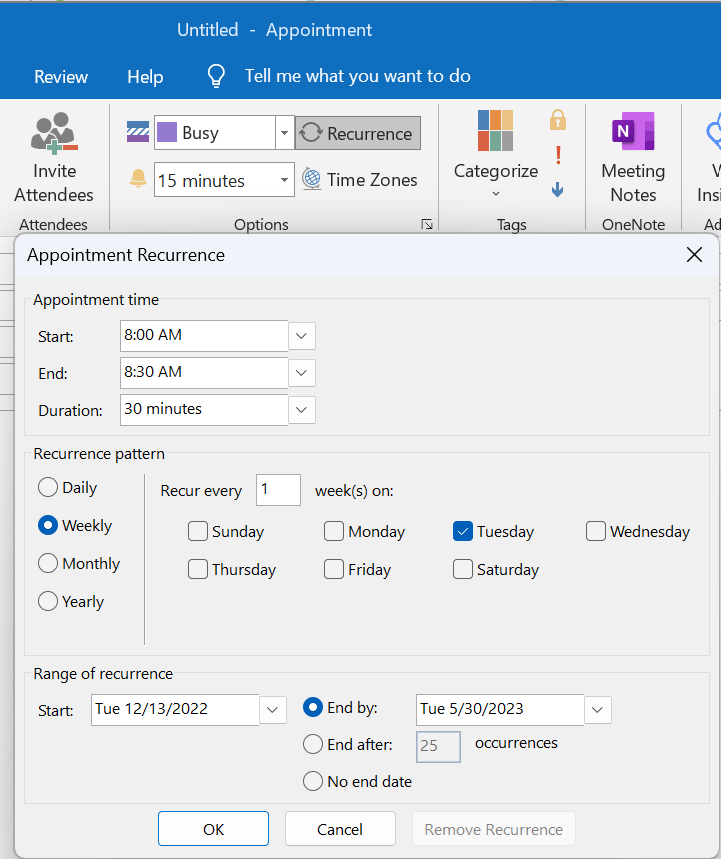
3. Click the Recurrence icon in the ribbon to set up a recurring appointment.
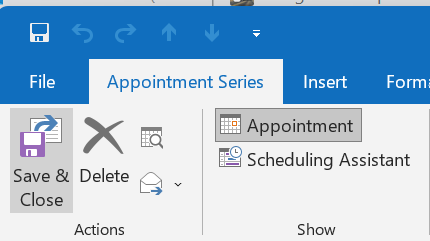
4. Once you have finished filling out the form for your appointment, click the Save and Close icon in the upper left corner of your Appointment screen. The appointment will be added to your calendar.
How to set up a new meeting
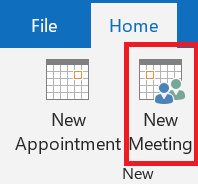
1. Select New Meeting under Home. A New Meeting Invitation screen will open:
2. To organize a meeting and invite participants, use this window.
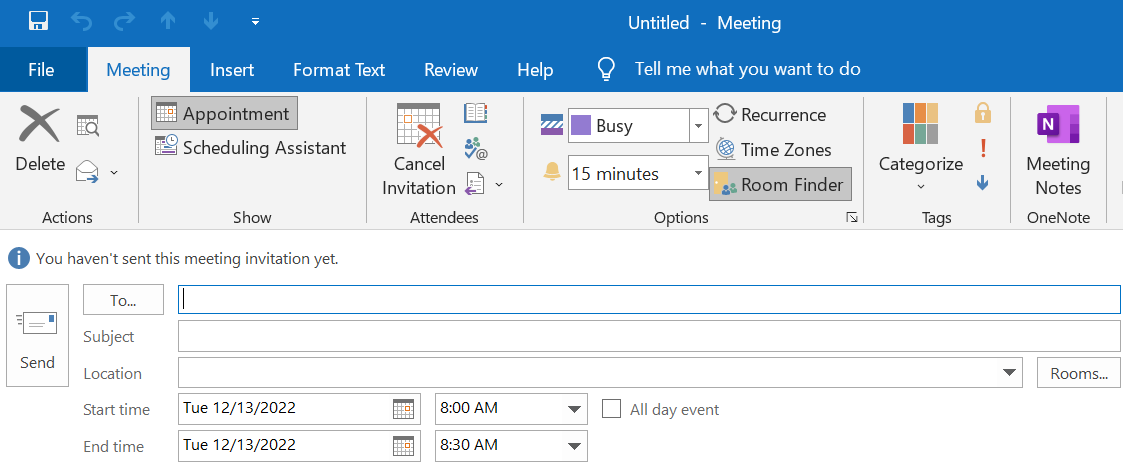
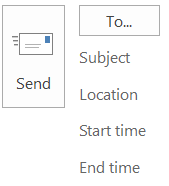
3. When you are ready to send your invitation, click the Send button in the upper left corner of the window. Your appointment is scheduled. The meeting invitation will be sent to each person you specified in the To field.
Note: How to delete a calendar item
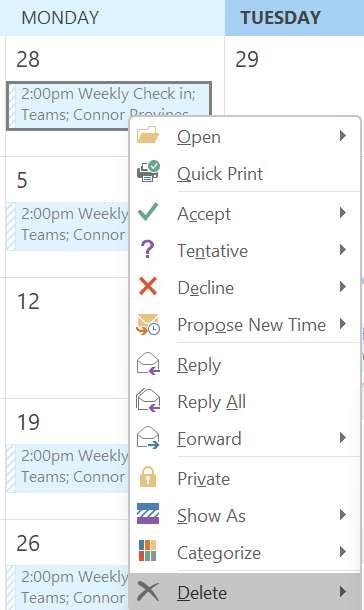
1. Locate the calendar item you want to delete by scrolling to its location in the calendar view.
2. Click on the calendar item to select it, then right-click.
3. In the context menu, choose the Delete option.
Why CiraSync?
CiraSync automates the synchronization of Office 365 global address lists, shared calendars, public folders, and CRM contacts with business smartphones. CiraSync provides centralized administration with single sign-on, granular control, and top-notch customer support. No software installation, no client configuration, and no user training are required.

