


This guide shows how to remove CiraSync licenses from licensed users in CiraSync.
Instructions
- Log in to the CiraSync Dashboard.
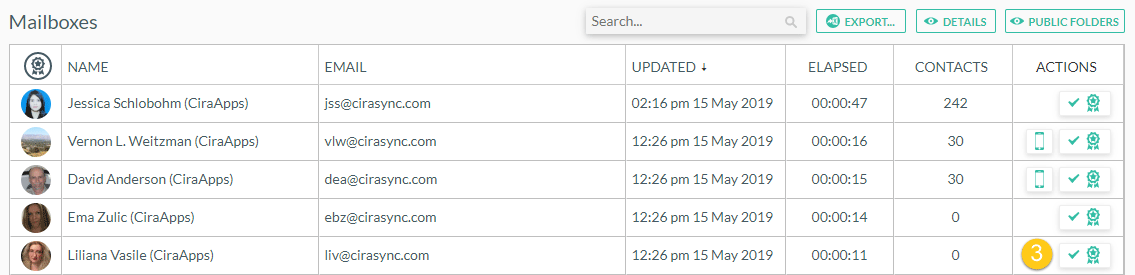
- Scroll down to the Mailboxes pane.
- Click the User is licensed icon next to the user that you want to remove under the Mailboxes pane. The icon will turn red, which indicates that the user is no longer licensed. (See figure below.)
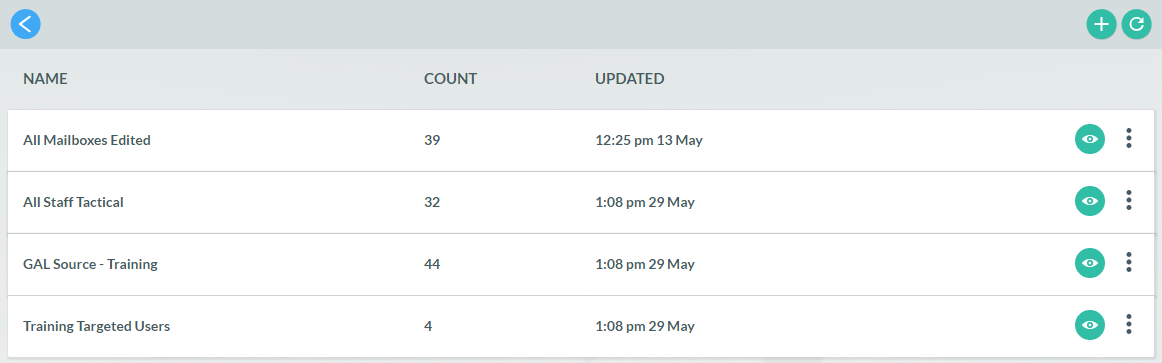
- Click VIEW under the Contact Collections pane from the Dashboard. You will now see a new window with a list of all of your Contact Collections. (See figure below.)

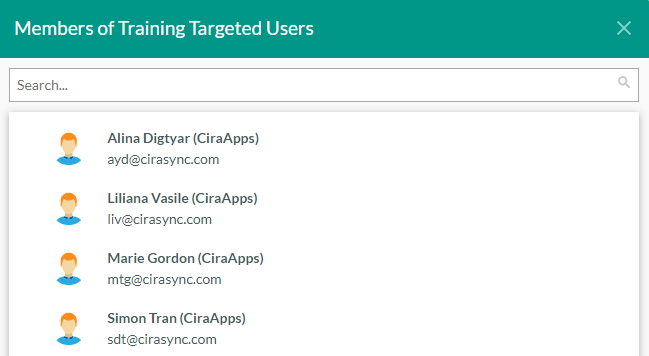
- Click on the green eye icon next to the Contact Collection that contains the user you want to remove. A new window will open, and you will see the members in the Collection. (See figure below.)

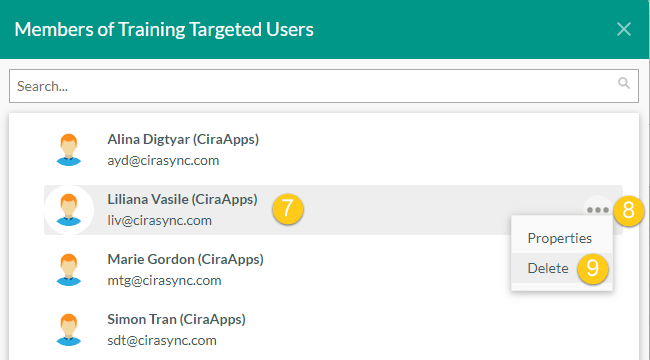
- Find the user’s name you want to remove.
- Hover your mouse next to the user’s name.
- Click on the three dots that appear.
- Click Delete. (See figure below.)

- Return to the CiraSync home Dashboard.
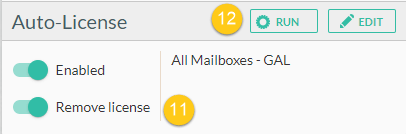
- If you would like to have the process of removing licenses automated, enable Remove License slide under the Auto-License pane.
- Click Run. (See figure below.)
 NOTE: If Remove License is already enabled, CiraSync will automatically remove the user from licensing during the next sync.
Congratulations, you have just learned how to remove CiraSync licenses from your users and remove the user as a target. Only removing the license from the user – manually or automated – does not delete Contacts or Calendars synced to the user by CiraSync. Please proceed to Cleaning up Contacts and Calendar Items in CiraSync to learn how to clean up Contacts and Calendar items.

