Exporting Outlook Contacts into a spreadsheet can be used to move data from Outlook into another mail client or as contact backup in case of an emergency. This guide shows how to export Office 365 Contacts from Outlook Desktop into an Excel spreadsheet.
Method 1: Export Outlook Contacts to Excel Using the Import/Export Wizard
- Open Outlook on your computer.
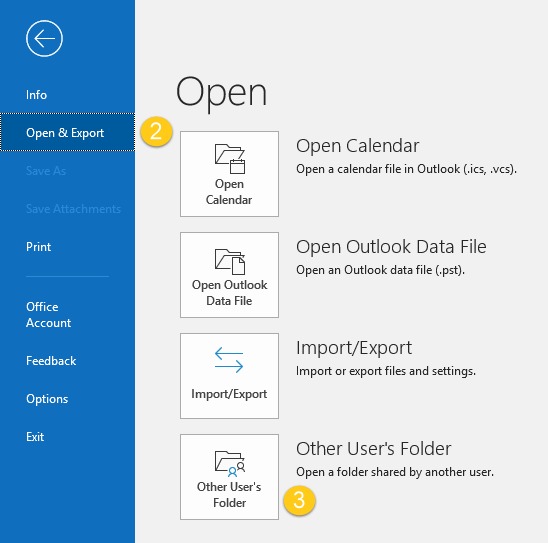
- Click File > Open & Export.
- Click Import/Export. (See figure below.)
 The Import and Export Wizard will open. (See figure below.)
- Click Export to a file under Choose an action to perform.
- Click NEXT. You will be taken to the Export to a File wizard. (See figure below.)
- Click NEXT. You will be taken to the next step of the wizard. (See figure below.)
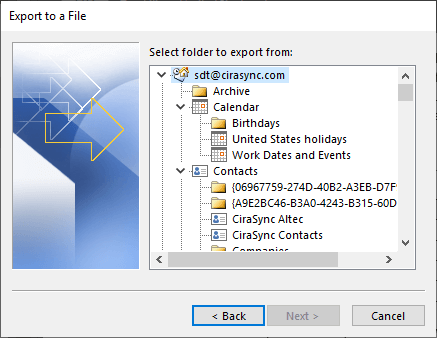
- Choose the desired Contact Folder to export from. In this example, choose the main Contacts folder. NOTE: Exporting the parent folder will not export subfolder content.
- Click NEXT. You will be taken to the next step of the wizard. (See figure below.)
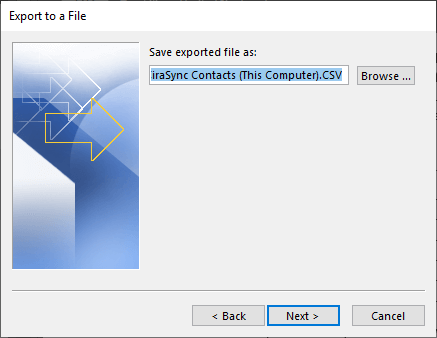
- Click Browse and select the destination for the export.
- Click Next. You will be taken to the next step of the wizard. (See figure below.)
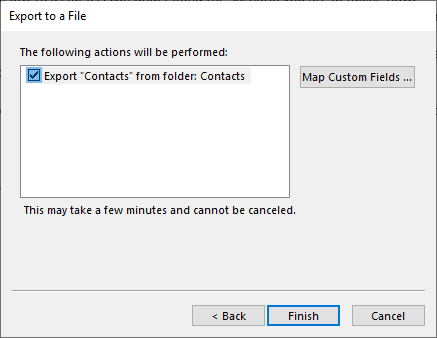
- Click Map Custom Fields to customize which contact fields appear in the exported file. NOTE: Skip to Step 12 to export the default contact fields.
- Click Finish. NOTE: Exporting a file may take a few minutes. This procedure cannot be canceled.
 The Import and Export Wizard will open. (See figure below.)
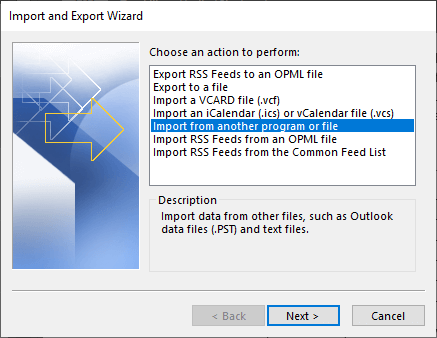
Recommended reading: How to Add a Shared Mailbox to Outlook?
Method 2: Export Outlook Contacts to Excel Using Copy and Paste
- Open Outlook on your computer.
- Click the People View icon at the bottom of the left-hand navigation panel. (See figure below.)

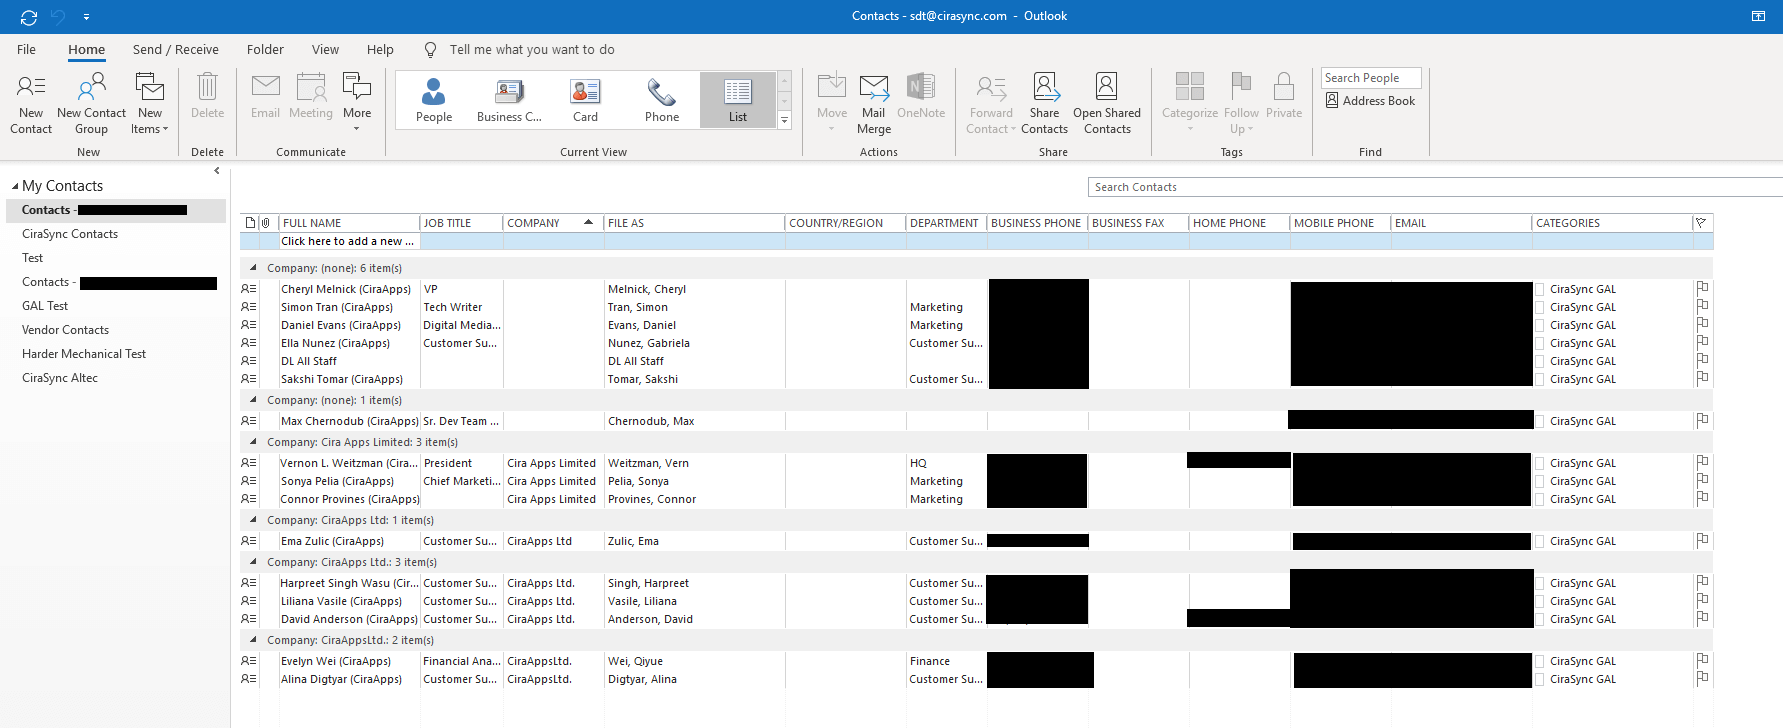
- Your Outlook Address Book will appear. (See figure below.)

- Click List from the Current View drop-down. (See figure below.)

- Collapse all undesired contact fields.
- Copy all contacts desired contacts.
- Open Excel.
- Paste all copied contacts into Excel.

Method 3: How to Export Outlook Contacts to Excel on Mobile
Unfortunately, there is currently no way to export contacts from the Outlook mobile app to Excel. As a workaround, you can open Outlook on the web in your mobile browser and follow the steps in the “Outlook on the Web” section below to export contacts to Excel. From there, you can open the exported CSV file in the Excel mobile app.
Method 4: How to Export Outlook Contacts from Outlook on the Web to Excel
If you use Outlook Web, you can easily export your contacts to Excel right from your browser.
Here’s how:
1. Sign in to Outlook on the web
2. Click the “People” icon to go to contacts
![]()
3. Check the box to select all contacts (or select specific ones)
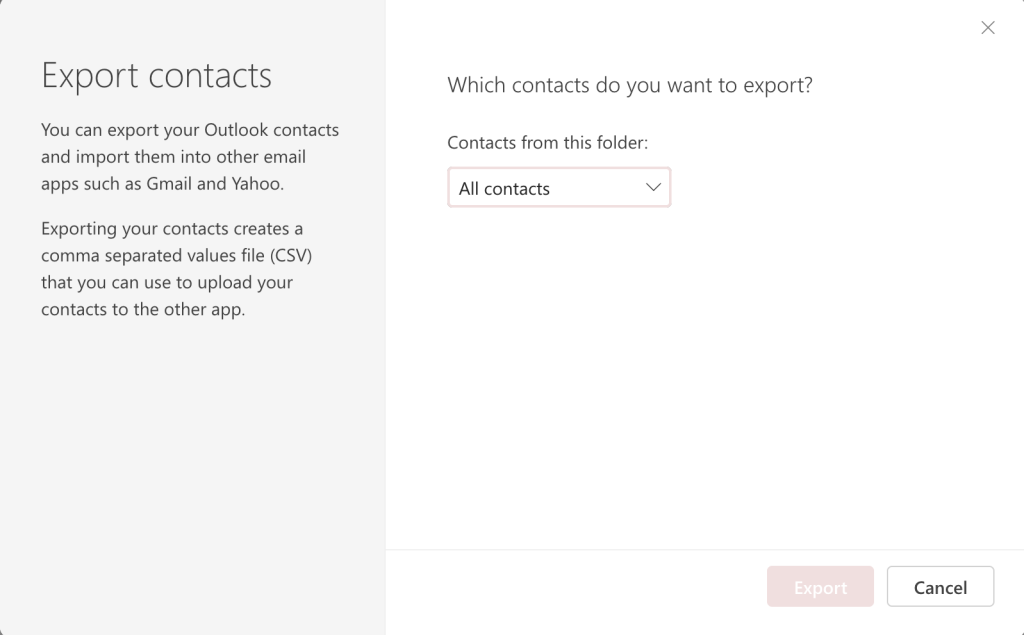
4. Click “Manage Contacts” and choose “Export contacts”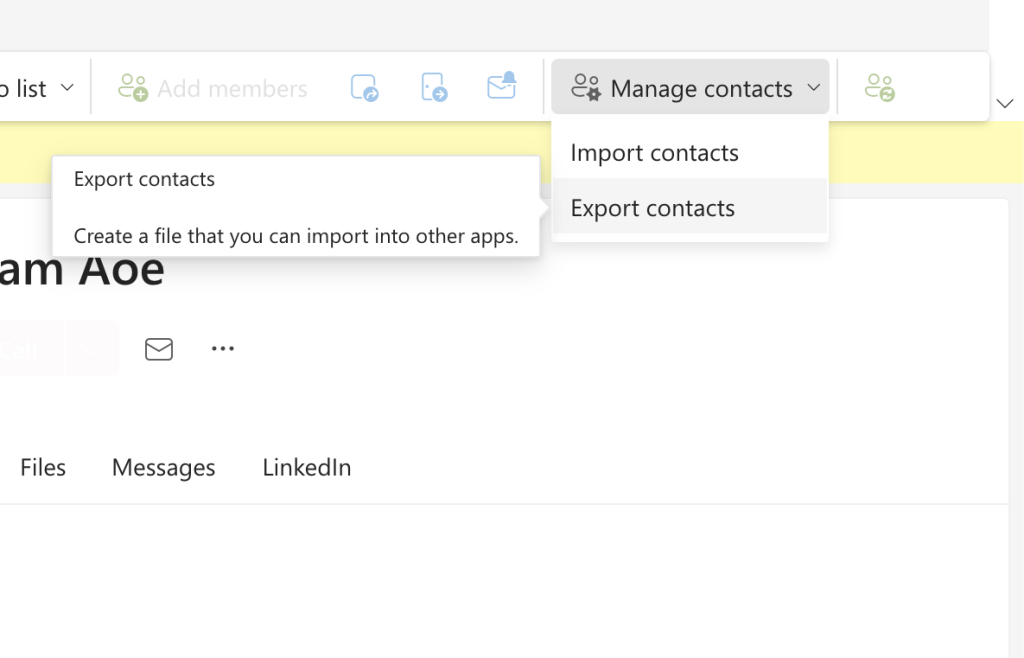 5. Select “All contacts” or a specific category, then click Export
6. Open the downloaded .csv file in Excel.
Method 5: Export Contacts from Outlook to Excel on Mac
The process for exporting Outlook contacts to Excel is slightly different on a Mac compared to a Windows PC.
Here’s how to do it in Outlook for Mac:
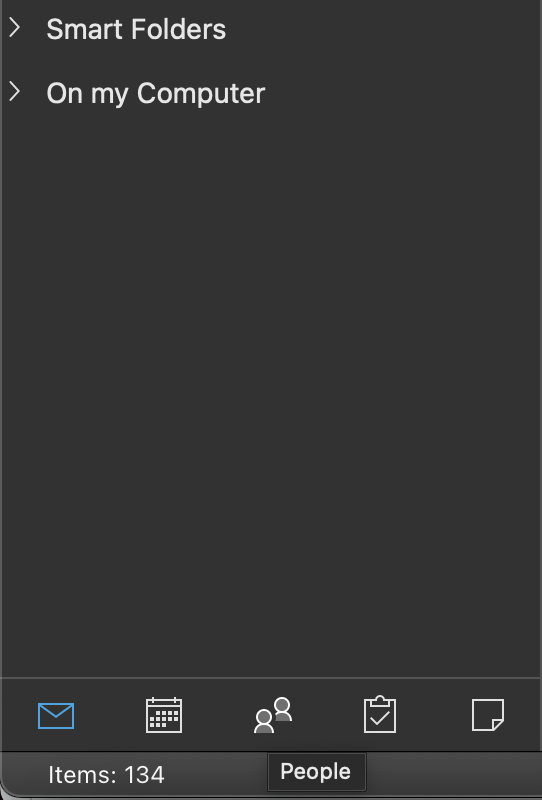
1. In Outlook for Mac, select the “People” view
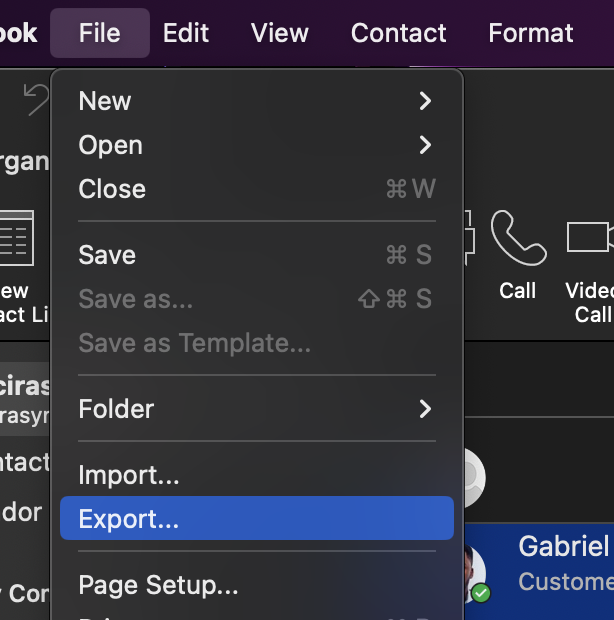
2. Go to File > Export
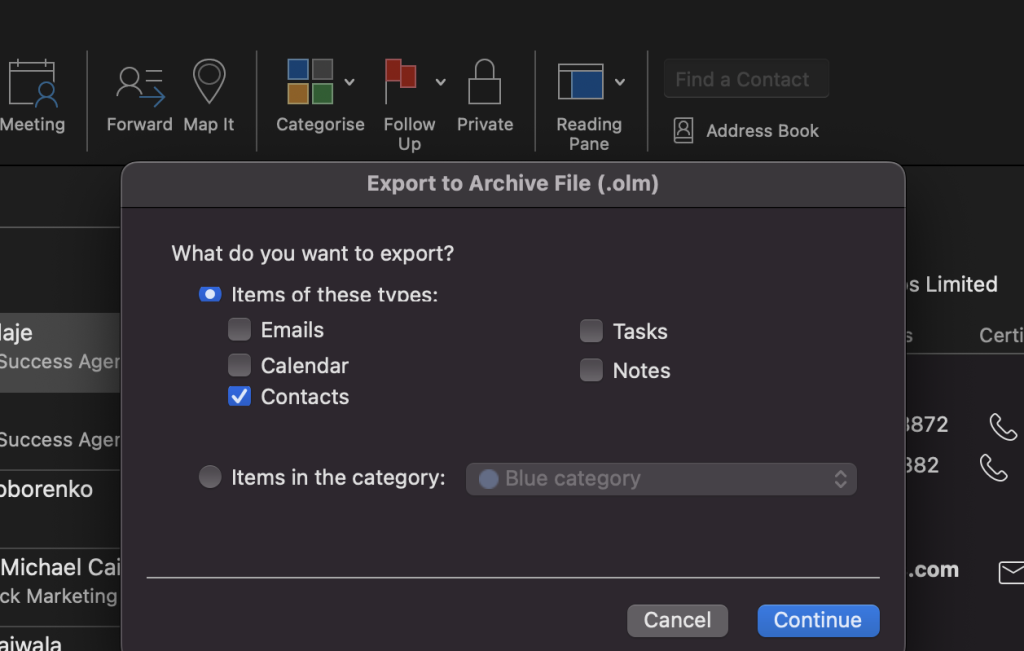
3. Select the type of file you want to export as “Contacts” and click “Continue”
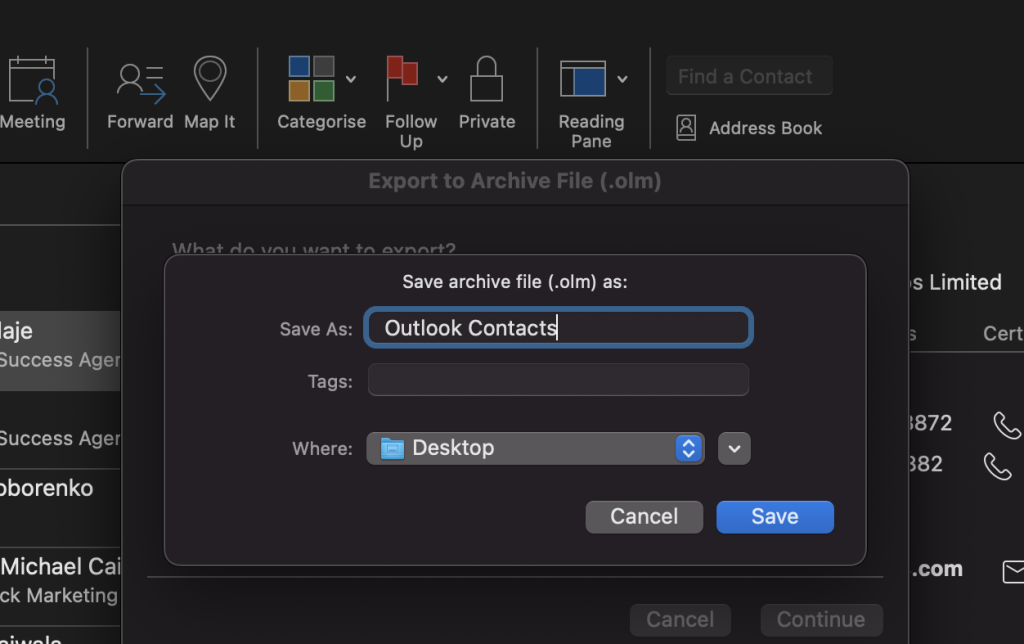
4. Give the file a name, choose where to save it, and click “Save”
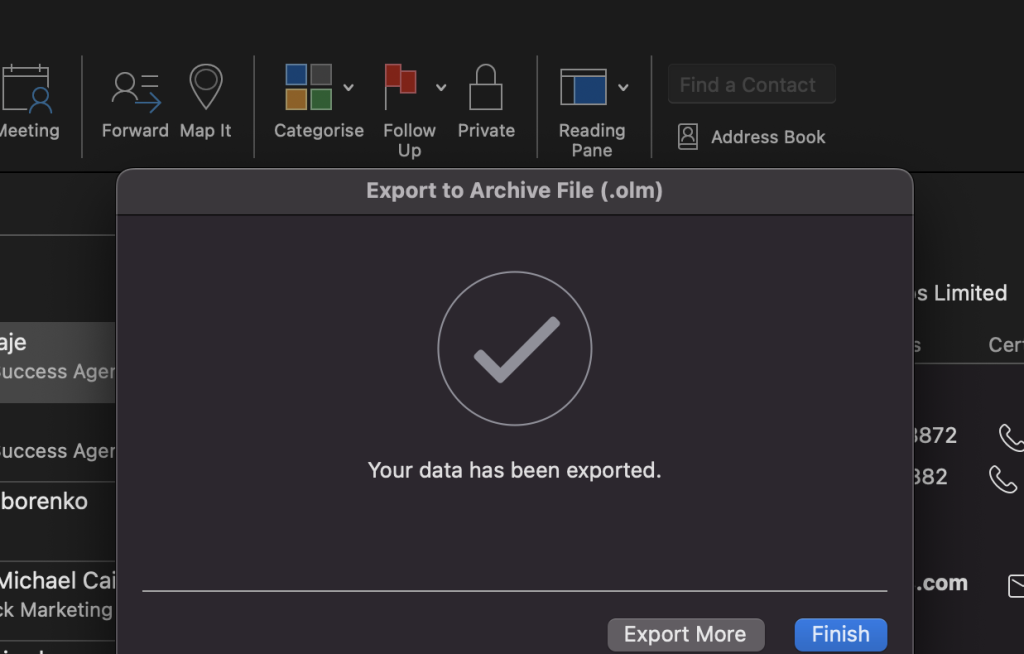
5. Click “Finish” to finish exporting your .olm file.
6. Open the OLM file in Excel:
- Import your OLM file into Outlook for Mac using the “Import/Export” option.
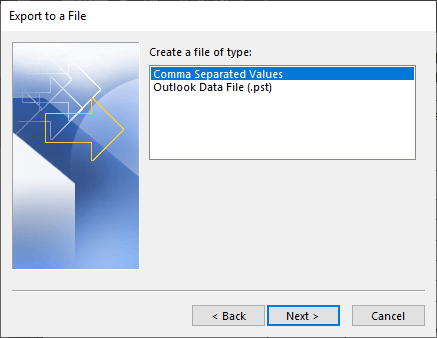
- Pick the option of “Export to a File” from the Import and Export Wizard.
- Choose the “Comma Separated Value” option and click Next.
- Select the destination path to save the file.
- Click the “Finish” button.
Frequently Asked Questions
1. What are some limitations of exporting large contact lists?
- Very large contact lists may hit Excel’s row limit (~1 million rows)
- Opening large CSVs in Excel may be slow and resource intensive
- Avoid exporting sensitive info like phone numbers for many contacts
2. Is it safe to share a CSV file containing my contacts
Sharing exported contact files can raise privacy and security concerns. Be cautious about sharing exported files, as they contain personal info. Only share with trusted parties, and be sure to remove sensitive details before sharing, password protect the file, and use secure file sharing methods. Also ensure that you comply with any applicable data protection laws.
Related Articles: