
CiraSync Contact Lists can use Collections as a source or a target: this provides flexibility to add or remove users or contacts using an existing group in the Global Address List. CiraSync Contact Collections can be created from a Group, a Distribution List, and a Dynamic Distribution Group created on a single Azure Active Directory Premium Subscription.
This guide shows how to set up Azure Active Directory Premium, create Dynamic Distribution Groups, and how to use the group as a source to create Contact Collections.
If you are an on-premise Exchange user, check out Sync Smartphone Contacts using Collections on itrezzo!
Set up Azure Active Directory Premium
- Launch the Office 365 Admin Portal.
- Click Purchase services in the left navigation panel.
- Click +Add subscriptions in the top-right corner of the pane.
- Search for Azure Active Directory Premium in the search box.
- Hover your mouse over the Azure Active Directory Premium P1 or P2 tile. NOTE: A Azure Active Directory Premium P1 subscription is the minimum required to create a dynamic distribution group.
- Click Buy.
- Complete the purchase.
- Click Billing > Products & services in the left navigation panel.
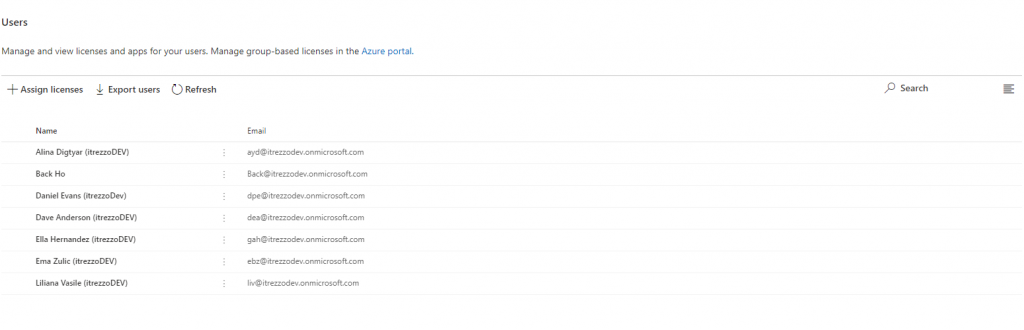
- Click Assign to users in the Azure Active Directory Premium Pane. The Azure Active Directory Premium Users Page will open. (See figure below.)

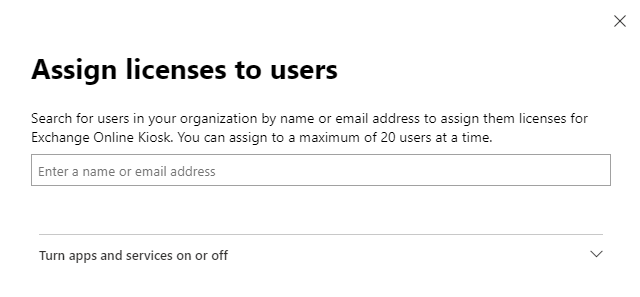
- Click +Assign licenses. The Assign license to users window will pull out. (See figure below.)

- Search for the desired users to assign the license to.
- Click Assign in the bottom-left corner of the window.
Create a Distribution Group
- Launch the Office 365 Admin Portal.
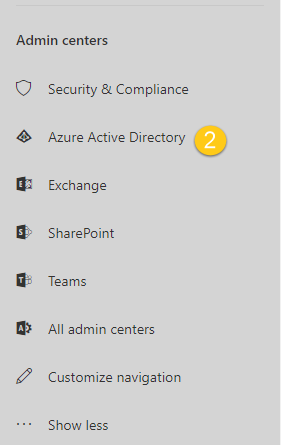
- Click Azure Active Directory under Admin centers from the left navigation panel. (See figure below.)
 NOTE: You may need to click Show all to expand Admin centers to find Azure Active Directory.
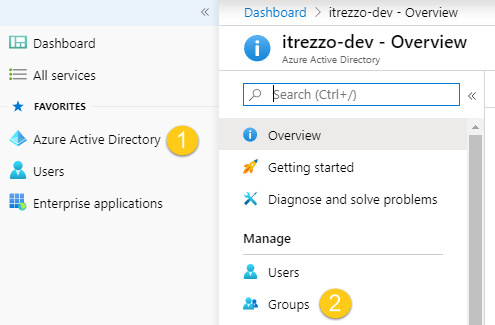
 - Click Azure Active Directory > Groups. (See figure below.)

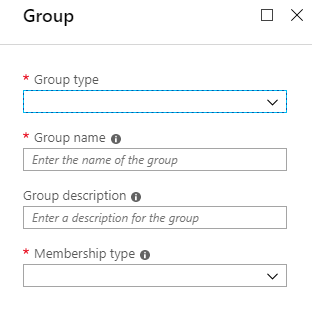
- Click +New group. A form will appear on the screen to fill out. (See figure below.)

- Set the Group type to Security.
- Name the group.
- Enter a group description.
- Set the Membership type to Dynamic User.
- Click Add dynamic query.
- Click Advance rule.
- Enter your query.
- Click Add query.
- Click Create. NOTE: It can take several minutes for the distribution group to be created.
NOTE: Due to recent changes done by Microsoft, updates done to Dynamic Distribution Lists in Office 365 will take up to 24 hours to show in the respective DDL (Dynamic Distribution List). Because of this, updates done by the Scheduled run in CiraSync might take up to 48 hours to show. A manual sync from the Dashboard, after the update shows in the DDL, will propagate the change faster.
Create Contact Collections from Office 365 Distribution Groups
- Log in to the CiraSync Enterprise Edition Dashboard.
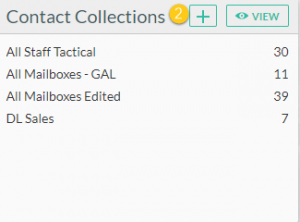
- Click the + in the Contact Collections (See figure below.)
 You will be taken to the Contact Collection Dashboard. (See figure below.)
- Click the Pen icon.
- Name the Collection.
- Search for the Distribution Group you created earlier in the Creating a Distribution Group section of this guide.
- Click the group. The group should appear in Collection Preview on the right.
- Click SAVE at the top-right corner of the dashboard.
 You will be taken to the
Now that you’ve created Dynamic Distribution groups, let’s view the Global Address List through Outlook.

