Creating Sync Tunnels and Running a Manual Sync
Sync Tunnels are tasks that tell CiraSync which items are to be synced and to whom these items should to be synced to. The following procedure briefly how to create a sync tunnels and run a manual sync.
Instructions
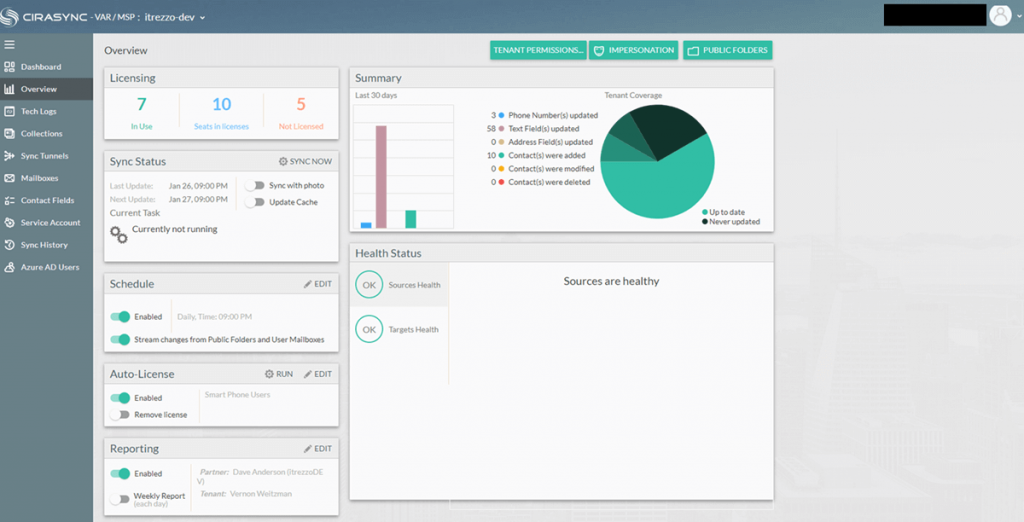
- Navigate to the Tenant Overview Dashboard. (See figure below.)
- Click Sync Tunnels in the left-hand navigation panel. You will be taken to the Sync Tunnel dashboard. (See figure below.)

- Click the + to pull up down a drop-down list.
- Select a type of sync tunnel to create. For this example, click Add a new Contact list.
- Select a source type. For this example, click Global Address List.
- Select a source for the sync tunnel. NOTE: A source of a GAL sync can be All Contacts and/or All Mailboxes, a single user mailbox, a Dynamic Distribution Group, or a Contact Collection.
- Select the target of the sync tunnel. NOTE: A source of a GAL sync can be All Contacts and/or All Mailboxes, a single user mailbox, a Dynamic Distribution Group, or a Contact Collection.
- Specify Contact List options.
- Return to the Tenant Overview Dashboard.
- Click Update Cache in the Sync Status
- Click SYNC NOW to run a manual sync.

