


This guide shows how to sync shared notes to smartphones with CiraSync Enterprise Edition.
Before You Start
This guide assumes that a dedicated Service Account with Application Consent Access has been set for your CiraSync Tenant. Without an administrator account with the appropriate settings configured, CiraSync will be unable to push Contact and Calendar updates to user mailboxes. Check out the following articles to learn how to set up a dedicated Service Account with the appropriate permissions for your Tenant and then return here to learn how to sync shared notes with CiraSync Enterprise Edition:
- Setting up a Dedicated Service Account for CiraSync in Office 365
- Setting up Application Consent Settings
- Making CiraSync Use a Specific Office 365 Service Account
This guide also assumes that a Collection was created as a Target prior to creating a Contact List. Check out the following article to learn how to set up Collections:
Creating CiraSync Contact Collections
Instructions
- Log in to the CiraSync home Dashboard.
- Click the + in the Notes pane.
- Select Shared Mailbox as the source type. (See figure below.
 You will be taken to STEP 1: Select Private Folder.
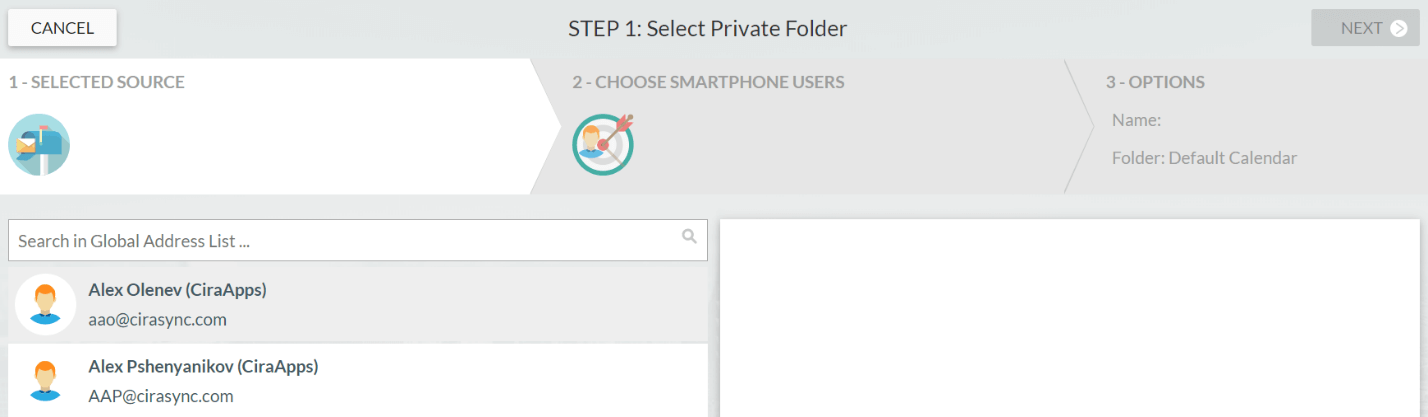
- Select the user mailbox source. You should see a hierarchy of folders in that specific user mailbox.
- Select the note you would like to use as the sync source. In this example, the main Notes folder is the source.
- Click NEXT. (See figure below.) You will be taken to STEP 2: Choose target mailboxes.
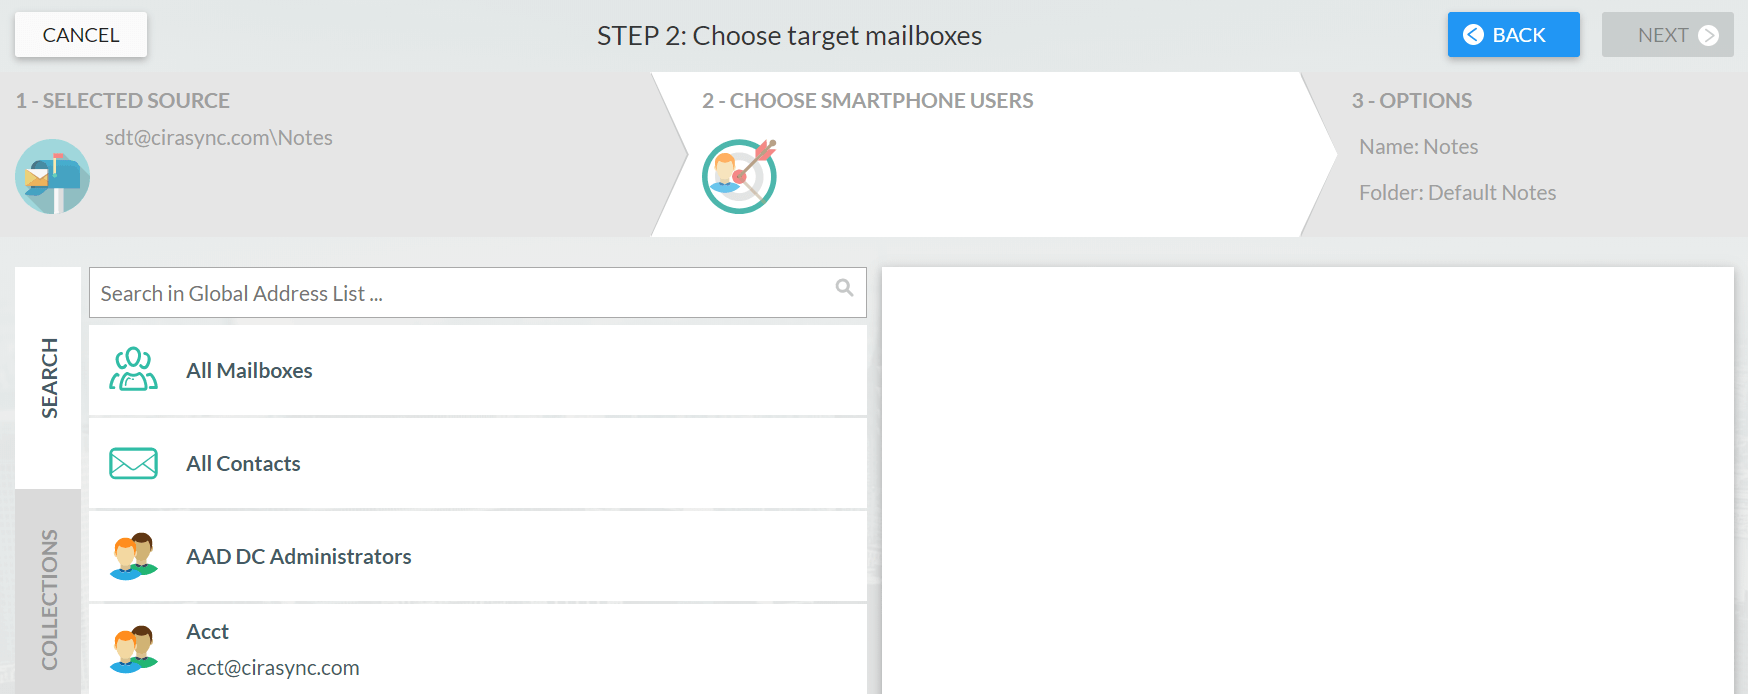
- Select the user mailbox(es) that will receive the synced note. NOTE: To use a Contact Collection as a sync target, click the COLLECTIONS tab and select the desired Collection as the sync target.
- Click NEXT. You will be taken to STEP 3: Specify note list options. (See figure below.)

- Enter a name for your note.
- Click the + next to Notes for the synced notes to show up as a subfolder in target user mailboxes. Skip to Step 10 for the synced notes to show up as part of the main Notes folder in target user mailboxes.
- Click the SAVE button in the upper right corner. You will be taken to the sync summary Dashboard. (See figure below.)

- Click the blue back arrow to return to the home Dashboard.
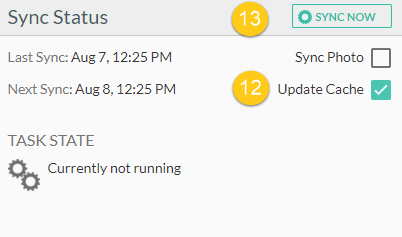
- Check the Update Cache box in the Sync Status pane.
- Click SYNC NOW to run a manual sync. (See figure below.)
Next article: Syncing Public Folder Contact Lists to Smartphones using CiraSync Enterprise Edition

